TIPS AND TECHNIQUES

Friday, December 30, 2016

A Christmas Carole Accordion

As the New Year approaches I'm trying to get out all of my current card projects so that I may work on all new stuff during the New Year.  That's not to say that I will be able to accomplish that....just that I'm going to try.  I have odds and ends projects all over the place and some I'm not even sure if I had posted already so I'm really hoping that I will not be "Duping" anything.  LOL
So....lets start with this one.  I know I haven't posted it yet because the first time I took a picture was today to send off to a brand new friend.  Just a little background before I jump into this.  She saw a post I made on Splitcoast Stamper and private messaged me.  She was originally from my state and just thought it was a good idea to reach out on a personal level.  I am so glad she did.  We have been having so much fun describing our lives, our likes and dislikes.  We have become Old Fashioned Pen Pals!  Ok maybe Keyboard Pals!  LOL  But for sure we will be using the US Snail Mail too!  There is a strong bond among strangers.  So if your ever down on life just remember my little story about 2 people becoming friends from miles away and know that good does exist.  And Now...........on to the card!!  

As I said it's an accordion card and it measures 4x6 closed and 4 x 24 fully opened.  I used the Graphic 45 collection A Christmas Story.  Here it is closed.
Here it is opened.  Not sure if you call this the front side or inside.  The first page has a little pocket that I added my grandkids Christmas picture to.  The third section also has a pocket and I just added a couple tags.  I love the Tiny Tim one!
One the back side or outside, we start with a postcard.  Though this one is not written on it was put there for me to write our   "To and From" on.  This way I'm not messing up any of the pages signing the card.  Hmmm...looks like you can't see the post card very well.  I'll take another pic of the back of the accordion closed.
The 3rd section also has a pocket where I was able to slip a family picture my son had done for their Christmas pictures.
Ok here we go this is the accordion closed and the back side.

Well I'm off to find other projects so until next time...........................................

HAPPY CARDING!!

Thursday, December 29, 2016

Christmas Mini Album

Remember awhile back I shared with you my Interactive Halloween Book seen HERE.  Well I had also made some Christmas ones but couldn't show them to you because they were gifts.  Now that the holidays are over I can share.
A bit more involved than the Halloween one, this one has lots of pages for holiday photos.
Soooo......lets start the view...............
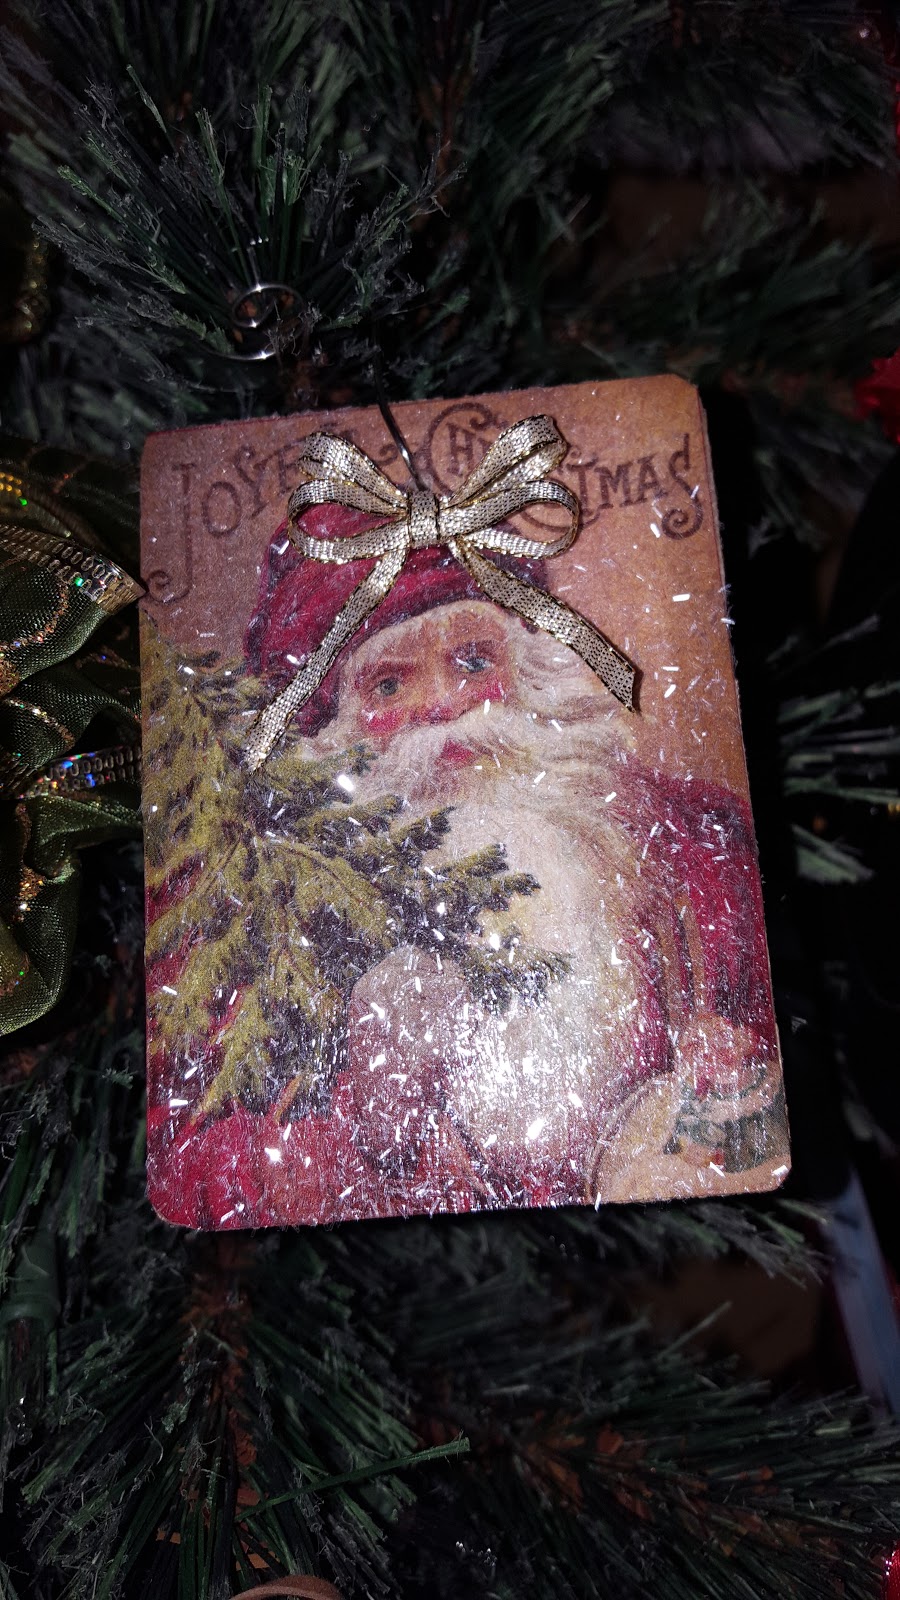
Here's the front
 This book has alot of flip pages where the book just keeps expanding to the right after you open the first page.
open 1st page to the left
 When first opened we have a gate door on left that when opened you can place a photo here.  The bottom pocket holds little tags that you can adhere photos to the back.  On the blue page (on right) we have 2 flaps.  when opened you can put 2 pictures inside.  Now take that blue page and flip it open again to the right.
 Here on the right we have a 4 flip waterfall.  Flipping each one up to expose more photos.  Then on the right that page has a place for a photo on top of the little decorative square on the top left corner.  The bottom right corner is a little spot for journeling a Christmas list.  Now flip the right page again to the right.


This shows the middle section having 2 more flaps for more photos and on the right is a "Book in the Book"  This has 6 more pages for photos.  Some of those pages have tags where you could do some journeling.

The photo below shows the entire unfolded inside of the book.


And here above is the entire outside of the book unfolded.  I believe this little album can hold about 22 photos!!  That's pretty good for something that is only a few pages and measures about 8.5" x 5.5"
Oops for got a photo.  Here's the book within the book. You can see the little pocket on the left with a tag for journeling and I think the rest are just pages for adding the pictures.
Any way this one went to my sister and she loved it!  I made another one in Graphic 45 Papers the St Nicholas collection which I gave away before pictures and I made one for myself with the Night before Christmas collection which is not totally completed yet.  Will I make another???  Absolutely!!!  These are so much fun....time consuming but fun.

If I ever finish my other one I'll share but until next time......................

HAPPY CARDING!!

Saturday, December 17, 2016

Gift wrap time

Quick stop in to share a little idea I had for this years wrapping.  So many of us use those paper gift bags for wrapping.  I agree they are convenient.  Especially for large items like coats, or certain toys like trucks that just don't wrap right.  This year I have been shopping with more and more of the re-usable bags when going to the grocery store.  I got so tired of always having a ton of plastic bag laying around the house.  Now some store bags are not pretty.  They are made of some sort of weird material that kind of feels like gauze.  But other stores have these GREAT, colorful, very sturdy bags.  For example Trader Joe's.  I bought a couple of their bags a few years ago and LOVE them.  They hold alot and are pretty.  Another place near me is the Fresh Market.  Their bags are also very pretty.  During the holidays I usually always end up buying a few gift bags for gifts but this year I decided to get the re-usable shopping bags.  This way the recipient gets a gift with the gift!  Cleaver right????  And as fate would have it Trader Joe's came out with brand new designs on their bags!!!  Yay for me!!  Since I usually spend around $1.99 for those paper gift bags, seeing that these Trader Joe ones were only 99 cents made me extremely happy!  Here's what I got:
Now this is just the one side...The picture is different on the reverse side as will as the sides when you open them!  So awesome.
So this year when people use their gift that the gift was bagged in I hope they think of me and say "Wow this was a great idea".
That's it for now.........I highly suggest you run out now to your local stores and take a peek at what they have to offer in the way of re-usable bags. Its a gift that will keep on giving.  The environment will like it too.

HAPPY CARDING


Thursday, December 15, 2016

Quickie Little Gifts


OMG...I'm so sorry...this is another late post but written a week ago.  I couldn't find the finished product for a picture.  I probably already gave it away so I quickly made another 2 so I could photograph them.  LOL  Another senior moment or the Christmas season is getting the best of me!


So it's very cold here and the snow we got last Sunday it still here. It was the first measurable snow this season.   Funny the weathermen kept saying that my area would be getting about 2.5" and we ended up with close to 7"!!  I don't think many were prepared.  I still need to go get some salt because we didn't have much left.  There is also a cold snap heading our way.  I guess it's about time winter arrived.  We have been pretty luck with the most awesome fall!  Beautiful weather right through November! A new storm is brewing for the weekend.
With a cold front coming and me being one who would rather stay in, I decided to make little gifts for those who need to be out in this weather.  Whether be a Mail deliverer (like my PC??  LOL) or just people in general who must go to work.  So I'm making little packet covers for a tea bag.  I mean who doesn't like to snuggle up with a hot cup of tea?  Ok maybe some of you don't like tea but this could work for hot cocoa too!
Here's what you'll need:  
1  12x12 double sided DSP
1/4" score tape
scrap white, red or green card stock
Sentiment stamp of choice
corner rounder
2", 1 3/4" and 1 " circle punch
Label punch
From 1 sheet of paper you will get 3 tea folders.  Cut you 12x12 into 3 strips measuring 3 3/4" x 9 3/4".  Save scraps you will need them.  Next score each strip at 3 1/4" on both short sides.  As in below photo. 


 Fold on score lines and on last third cut off top piece to form triangle pocket.  (see above Photo)

Use score tape on bottom of triangle and fold inward to form pocket for tea bag.  Now just decorate!  If you want the piece you cut off can be used as a second pocket on the opposite side.  The bottom image shows that the inside has 2 triangle pockets.  Hope its not confusing.  
If you don't have any double sided DSP use what you have.  Fold the paper with printed side on inside and then cut 3x31/2 pieces of coordinating print and glue to white side of paper.  Example of that is in photo below.


Slip your tea bag into the pocket and your done.  Great little thing to give to bus drivers too.
I think I may have the grand kids make a few of these to give out and I'll make some for my D.I.L. to hand out at the school she teaches at.  After all the janitors should get a little something and the other teachers just might find one in their mail slots!

Have fun and til next time...........................

HAPPY CARDING!!

Wednesday, December 14, 2016

Crafting with Ama

With more snow predicted for the weekend I had decided that it would be a good weekend for a Sleepover and crafting with Ama (my grand kids call us Ama and Apa...pretty cute.)  So with the grandkids over we started crafting as the snow was falling.  The first would be those cute Christmas balls I made earlier with the rolled DSP inside.  This time I used bigger bulbs so the hole was larger for putting the papers in and I got plastic ones!!  Great thinking on my part because you would not believe how many times they dropped their ornaments!  Although not quite as full as the ones I had made previously they still turned out cute.  They also added some chunky snow glitter inside.  It doesn't show up well in photos but its there.
The next craft was a count down to Christmas.  I actually bought a kit from Hobby Lobby but since I wanted multiples I had my husband use the store one as a template and he cut a bunch out for me.  The blocks are 2"x2" square and the stand piece is 2"x4 .   I used scrap Christmas card stock that I had and cut all the necessary pieces out.  You will need a total of 14 squares(2 of which are for the sides of the stand) measuring  1  7/8 x 1  7/8 and 4 pieces 1  7/8 x 3  7/8.   The numbers are cut on my cricut and measured  1  3/4.  I used a label punch and stamped the sentiment on it and then glued and glittered the outline.  We used Mod Podge gloss to adhere everything.
And last but not least we made door hangers.  We have a ton of pine cones here since my yard is in the woods so I always have some gathered pine cones lying around.  All we needed was some jute and jingle bells.  Seriously what grandma wouldn't have jingle bells for holiday crafts?   That's right up there with glitter!  LOL

That's it for now!!!  Kids are going out sledding again and it's snowing again!!  Going to be a hot chocolate kind of day!

Stay warm and HAPPY CARDING!

Ooooppppssss............just noticed that I forgot to post this as well as another one!  Senior moments!  LOL


Monday, December 5, 2016

Paper Craft Gifts

Hello!!  Brunch is over and was fantastic.  We all had a great time and ate well.  
As I said before I had to unwrap a gift in order to take the picture I forgot to take.  Heehee.  But lets start with the boxes.
I made these with the box maker by We R Memory Keepers.  Great little tool for a quick box that doesn't really require many measurements.  Actually all you have to do is cut the right size paper for the box and then follow either small, medium, large or extra large score lines.  Fold it up and your done!
Ok...... well most of the boxes are covered up by another ornament that I made.  But you all know what boxes look like so on to the 1st ornament.  I was at a holiday open house at a local nursery and on one of the trees were these cute little wooden ornaments with decoupage papers on them.  The wooden blocks that they used were about 3" x 4" x 1/2" .  They were very cute BUT I could make them.  So off to Hobby Lobby where I found these small ATC size blank wooden plaques.  They had a real tiny hole in the top middle and came 8 to a pack for $2.99.  I had alot of left over pieces from my Graphic 45 papers that I trimmed to fit.  I stained each plaque a walnut color and then decoupaged the papers on them.  I then coated them with a thin layer of Glossy Accents and sprinkled Martha Stewart Tinsel Glitter on them.  After dried I added a swirly hook through the little hole that I made just a wee bigger with an awl.  I then just hooked them onto the ribbon over the boxes.  Cute right?  I love them and now need to go get more wood for more ornaments.  Here's a close-up of 1 of them.  Isn't that glitter awesome?


Inside each box was the other ornament.

Hard to tell from photo but this is just a glass clear ornament with rolled up scraps of DSP stuffed inside until it is full.  Add a bow and swirly hook and TA DA cute ornament.  Now I will admit this is time consuming.  Each piece of paper is about 1/2" wide by 6" long and it takes well over 40 rolls per bulb and that is for the regular size ones.  I bet the larger ones would take forever.  I made six so far and let me tell you my fingers were sore from rolling around a skewer.  But once done they are so cute.  I bet you could color coordinate to a persons likes too.

Everyone also received a small plastic test tube, from Michael's Halloween clearance, that I filled with just a few of my favorite things.  1 being the steel tip for glue by Art Glitter.  Love that tip and I use glue alot.  This rarely clogs and if it does you can clean it out with real hot water.  I also put in the tubes a Dr Brown Baby bottle brush.  This is pretty tiny and cleans out those tips pretty well.  Strictly by accident I realized that it was usable for my craft supplies because I had them here for cleaning grandbabies bottle inserts.  Now I can't live without them.  Another item is the metal lacier for turkeys.  Ideal for poking holes in glue tips or for pushing out the clog.    The tube itself is great for in our craft totes.  We will be less likely to loose those tiny things when kept in the tube.  Plus the tube is plastic so it won't break.

Hope you enjoyed my paper crafts and the little favorite things tubes.  Now I'm off to my next project...Getting my Christmas cards mailed!!

Til Later
HAPPY CARDING