This card is your typical 4.25" x 5.5" card. No fancy fold...no fancy cuts.
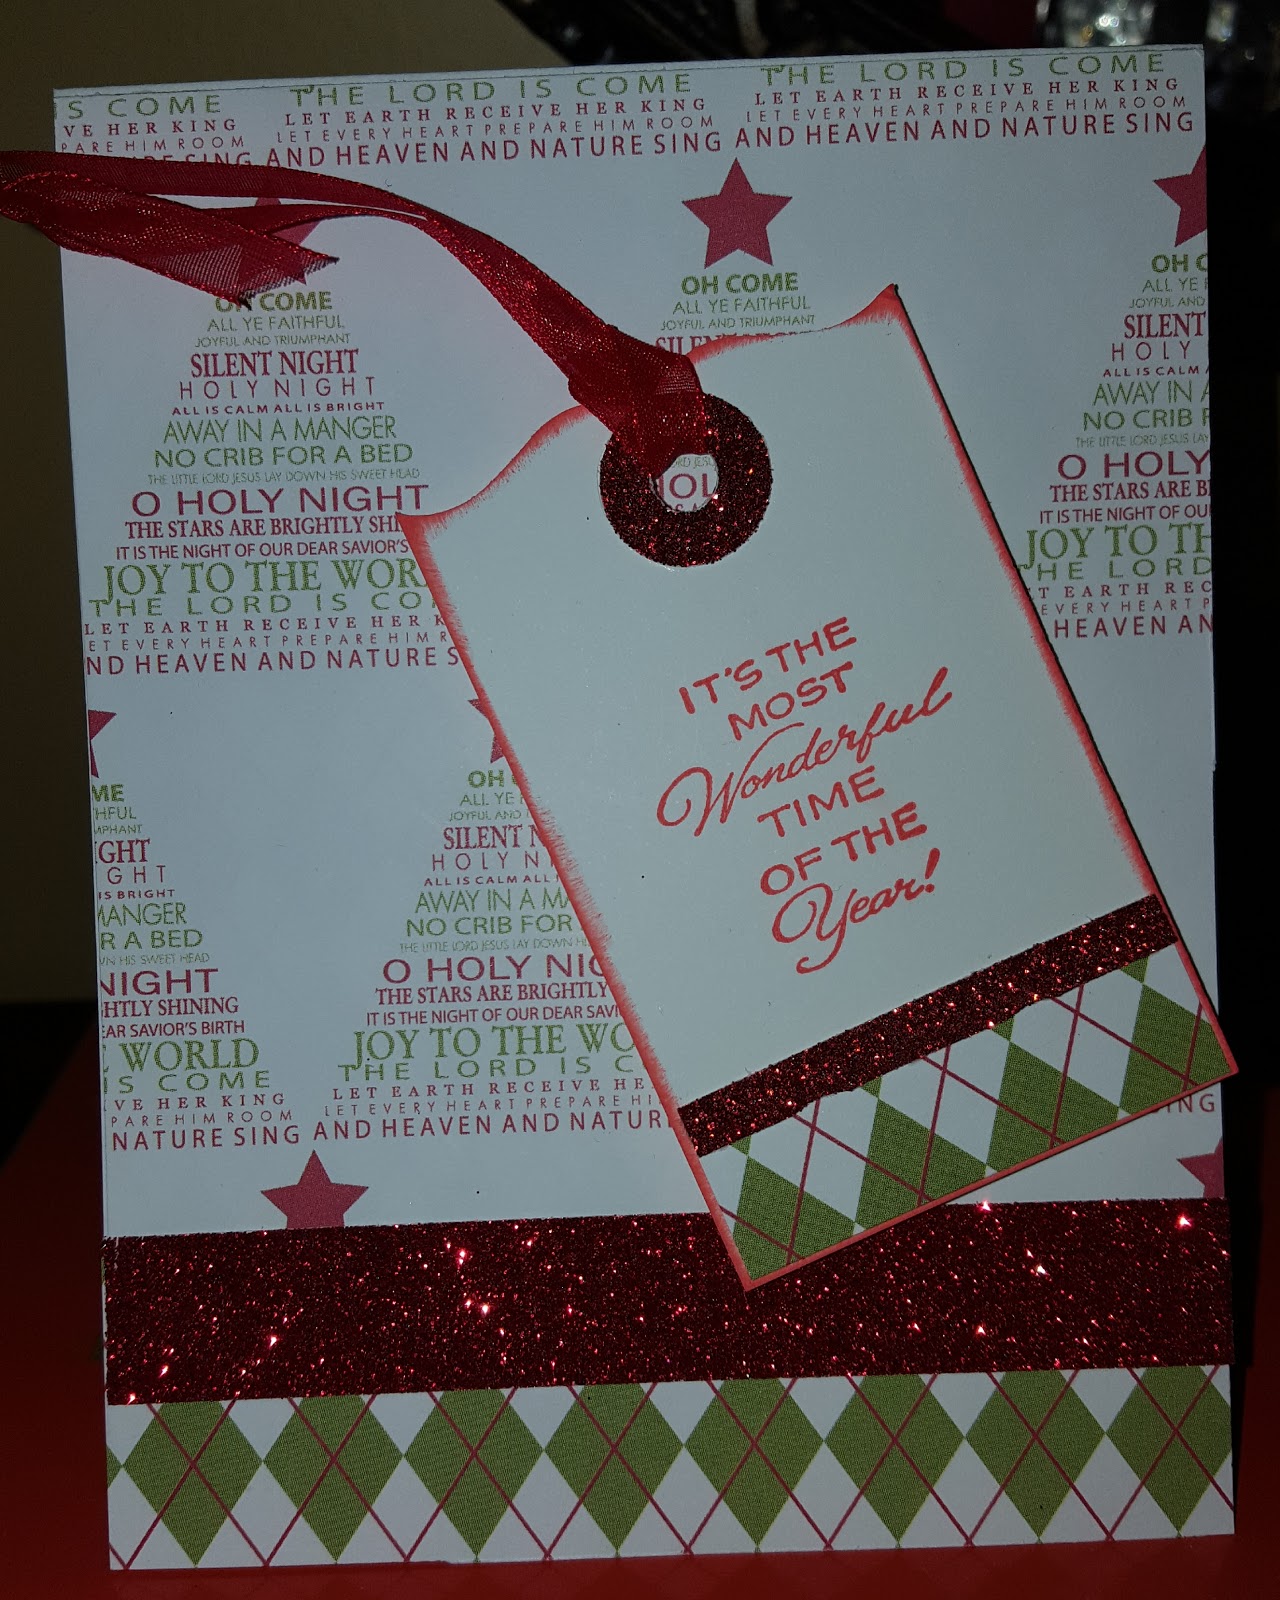
The paper was a sheet of 12x 12 that I got at a Scrapbook store. They remove the little strip on the edge that tells you the company and name of the paper for easier storage in their shelves. Convenient for them a pain for me because I cannot pass the info along. Anyway I got it about a year and a half ago. It's double sided with the argyle print on back. I used red glitter washi tape between the papers for extra sparkle as well as using it on the tag and for the hole enforcer. I added a small ribbon to the tag and popped it up on front of the card.
By the way a simple tip..................to make coordinating hole reinforcers just punch DSP or glitter paper or another color cardstock with your hand held hole puncher then with a 1/2" circle paper punch line the hole you just made in the DSP in the center of the punch and punch out. Perfect reinforcers.
While I'm at it I thought I would share some other cards. First...one of the ladies needed a Thank you card and wanted to do one of those Hydrangea flowers so the group of us helped her along to design this card.

Next a Graduation card I helped my Daughter in law do. She picked the colors and wanted to do a Shaker card but wanted a step card too. We used Stephanie Barnard's stair step card die and just added a few more inches to 1 side and slipping it over the cutting ridge instead of under so it would not cut that end. A trick I learned years ago to enlarge the fronts of certain card dies. Then it was up to her to decorate.


That's it for now. Til next time..........................................
HAPPY CARDING!
Three amazing cards! You are so creative! I'm always drooling here in your blog!
ReplyDelete