TIPS AND TECHNIQUES

Thursday, July 26, 2018

HALLOWEEN AND CHRISTMAS TEALIGHT LANTERNS

Well I was able to get a few more Tealight Lanterns completed.  I really can't wait until I can get some real cute doublesided cardstock and make a few more.  As I said before they are really easy to make and MayMay makes it so easy with her video which you can find a link to on my previous post.  So with out further a do ....................
I even decorated the tealights that are inside.  Not easy to see in this view but I did take a close up to share.
I changed up each tealight just to show the variety of ways to decorated them.  Sequins, beads, tiny flowers, flower flock etc.  Possibilities are endless.

Til next time.................................


Tuesday, July 24, 2018

TEALIGHT LANTERN

  Boy oh boy I need to stay off of You Tube!  Saw a video by MayMay Made It for an adorable tealight lantern.  And of course I had to try and make one.  I did all of mine from scraps so once I dug out some card stock that just so happened to be orange I decided I'd make mine Fall inspired.  MayMay does such a wonderful job on the tutorial that I'm just going to send you there.  I could never write up what she shows.  See her video and measurements here:  https://www.maymaymadeit.com/blogs/news/lantern-ornament-using-the-1-2-3-punchbooard  She makes it so easy to follow and there are so many inspirations for these on Pinterest.  Here's my first one.
I definitely want to make more and I think I may dress up the little tealight as well with the next one I make.
I think I may try Halloween!  Maybe Christmas and for sure on one of my ladies crafting nights we will be making these too.

Hmmmm.....should I go back on to You Tube?  Maybe I'll find some more inspiration!

Til next time...........................

HAPPY CARDING!


Monday, July 23, 2018

A Christmas Pull Up card

So I really loved making the previous card but boy it was kind of large.  I saw another one on Splitcoaststamper which was smaller and decided to contact the lady and see if she would share her measurements.  I am so bad at numbers.  I swear I could go through a dozen sheets just trying to figure out measurements.  Well this lady was so sweet....she not only gave me the measurements she made me an entire pictorial tutorial!  Her card is located here:  https://www.splitcoaststampers.com/gallery/photo/2871708?limit=last7  and mine turned out just as cute.

I'm definately showing the ladies how to do this as they can be hung around the house as a Christmas decoration as well.  Wouldn't these look cute with little tealights inside?  Hmmmmmm...idea?????  Might just try that.
Big Thank you to Anita!

Off to try another quick paper craft so until next time...........................

HAPPY CARDING!


PULL UP CARD FOR A SPECIAL FRIEND

Well I'm back again with another fancy fold.  I enjoyed doing the explosion boxes but after 3 of them I was ready for a different type of fancy fold.  So to the rescue was a you tube video by Wendy Cranford.  She made such a cute fancy fold card that I knew I needed to attempt this.  It looked more complicated than it really was and she did an awesome job on her video.  Check it out. http://luvinstampin.com/2018/06/pull-up-accordion-card.html I was in need once again for a birthday card.  Boy July is rough...so many birthdays.  Here's how mine turned out.

This is so hard to take a photo but I did the best I could.

I used yellow and pink as my background and then use pattern paper from an old paper pad that I got from Hobby Lobby.  I don't know the name of the pad since the cover is gone and I bought it maybe 3 years ago.  I wanted to spruce it up a bit but not add too much bulkiness so I just added a few butterflies from the same pattern paper and card stock.  This is a large card.  Finished size is 6.25 x 6.25.  So I needed to make an envelope for it.  The paper pad I used for the card has alot of coordinating papers so I just used one of those to make this cute envelope in the background.


  Finished this in time to mail and arrive on her Birthday on Wednesday I hope.

So til next time

HAPPY CARDING

Thursday, July 19, 2018

Birthday Explosion Box

Hello!!!  Its Thursday and guess what???  I forgot that today is my sisters Birthday.  UGHHHH....see I told you I'm a last minute person when it comes to getting my cards made!   I guess even Google Calendar doesn't help me!  Lucky for me I have a 2 day reprieve.  You see I will be seeing my sister on Saturday at my grand nieces birthday party so whewww I had time to get cutting!  No pun intended lol.
I so enjoyed making those shower explosion boxes that I decide to make a birthday one for my sister.  We don't normally exchange gifts so I decided an extra special card would be perfect.  I won't wait time with a tutorial since all explosions boxes are basically made the same for the base.  There are hundreds if not thousands of the box tutorials on you tube.  What makes each one different is the embellishments used and the papers.  Pick a theme and run with it.  So this time the theme is Girly Birthday.


Isn't this paper fun?  Awesome feathers on one side and then maps on the back side.  It came from a paper pad called  Rose Quartz from Prima.   I made little pockets on the sides so I could tuck in little inspirational tags.  In the center I made a little birthday cake from one of those battery operated tea lights.  I just used washi tape on the side then glue tiny flowers that I cupped on the top.  Here's a closeup.


I started gluing the flowers next to the flame first and then just kept building.  There are only 3 rows of these flowers but it looks like so much more.  It is so stinking cute.  Plus it got me thinking.......a friend of mine has her birthday in October.  Her favorite holiday is Halloween so.....yep that's my theme for another birthday box...HALLOWEEN.  Won't that be Fun??  I may even get it finished early!

Until next time
HAPPY CARDING

Tips for Ultimate Genius cutting mats

I am always looking for the best way to use my Cuttlebug when die cutting.  One thing I hate is how warped the cutting plates get and before you know it as I run it through the machine it cracks and breaks.  Of course I never have an extra.  I then go to my Big shot and of course same problem ... warppy plates!  I go on to the Internet and follow all the advise out there on flattening the plates.  In the oven, under hot water etc.  Then of course there are the people who tell you that you are not rotating your plates right.  Jeez.......I just want to cut a die...no wonder I love punches better.  But I cannot get the intricate die cuts that are available from dies so I suffer through it.
Until now...............I had found at Joanns the Ultimate Magnetic Cutting system.
QUICKUTZ We R Memory Keepers Genius Ultimate Magnetic Platform
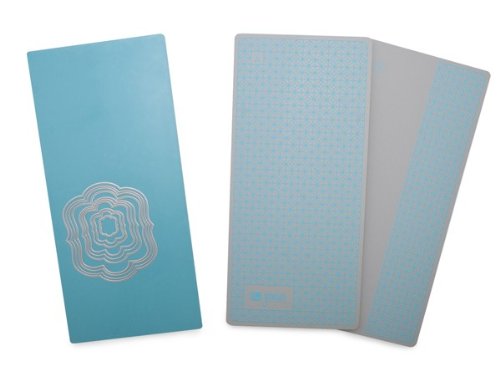
Its by WRMK and they are self healing cutting mats.  The box says you can use them in ANY machine.  So I thought I 'd give it a try.  They are a bit costly $49.99 but you can find them on sale and use coupons.   At the moment I am in love with these.  So much so that I'm afraid of ruining them or they will become discontinues.  So to extend their life I bought a couple of the Epic Grey Flex cutting mats.

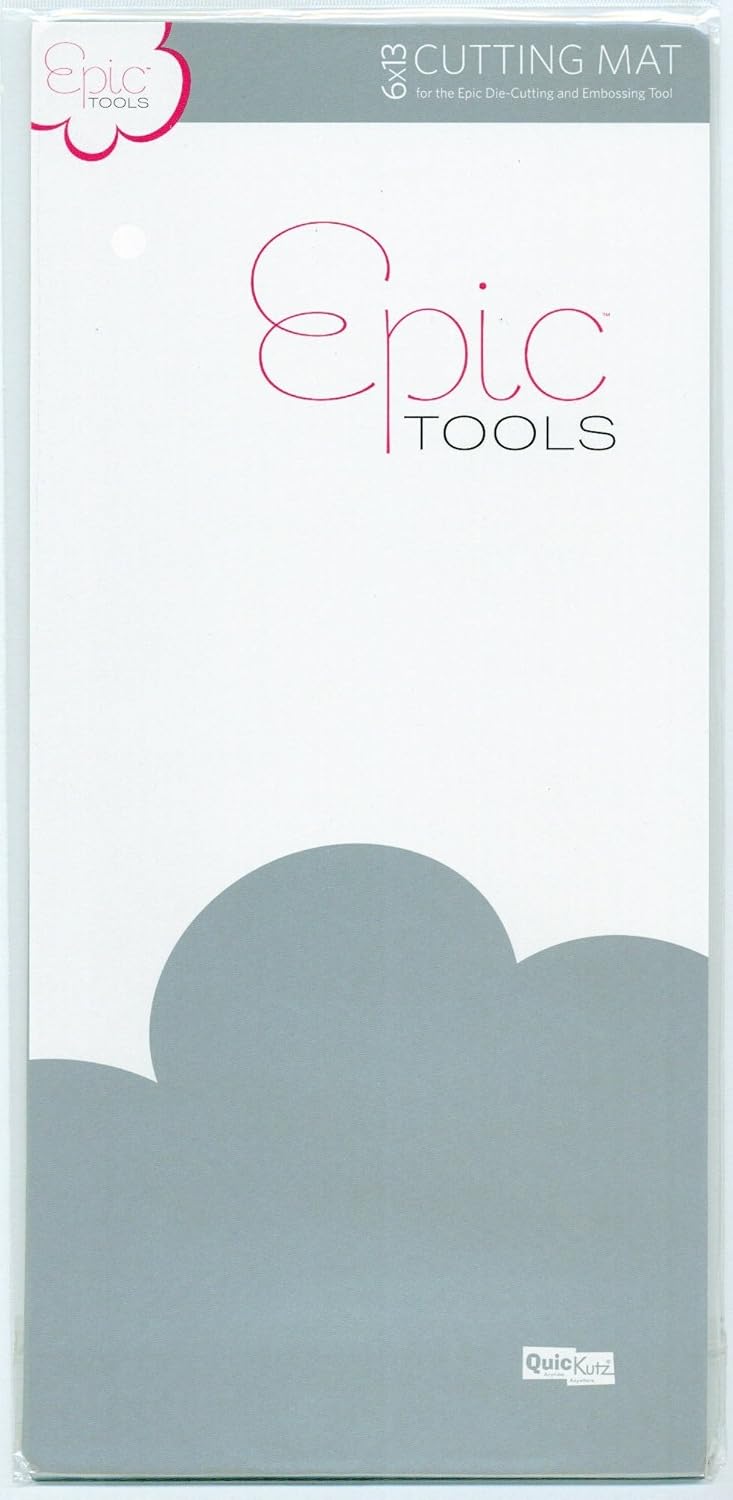
These are quite thin but quite inexpensive.  I use it with my B cutting plate from the Ultimate system and it works great in both my machines.  Though the Cuttlebug does the intricate dies much better.  Now  there is a warping issue with this Epic flex mat but even warped it runs through and cuts the dies with no problem.  I tend to iron my mat when done for the day and it flattens out with a hot iron and firm pressure.  At least they don't crack and I love the self healing aspect.
Now I am not suggesting at all that you need to go get these.  It works for me and I'm happy but I'm sure someone out there will have negative opinions of the product and that's their right.  I just wanted to share what is working for me and also share a pic of my warped mat and then after it is ironed.


Yep that thing just curls right up hahaha.  Its pretty flat now and ready to be put away until the next project.  


I still use the acrylic plates for emboss folders.

Well that's my personal review.  Hope it helps someone else.

HAPPY CARDING

Wednesday, July 18, 2018

Wedding Explosion box

I love weddings.  I love wedding decorations.  Everything is so pretty and lacy and EVERYONE Oooooo's and Ahhhh's the shower gifts including the wrapping paper used.  My Daughter in law is going to a double shower this weekend.  Previously I had posted the easy invites I designed for her. They were a big hit especially the brides mother which is my daughter in laws Aunt.  Poor woman has 2 daughters getting married not far apart so they had decided to do a double shower.  My daughter in law is involved with the decorating so we went through a ton of ideas to make the shower neutral yet bring in a little of each bride.  I helped with directions for her and her mom to make the centerpieces for the tables.  I just gave them a bunch of ideas and supplies and while I was up relaxing at my cabin they invaded my house for crafting.  One thing for sure my daughter in law wanted was a fabulously wrapped gift.  Her own daughter had bought small ankle bracelets for the brides in blue.  So when I was asked to come up with a fancy way to package them it was a no brainer.  We went with a Something Blue theme.  My daughter in law loved explosion boxes but needed the help to develop it.  So with color scheme (blue) and gift theme (wedding) and me with a ton of dies and ideas we made 2 of these.


The little box in the center holds the gift.  There is ALOT of gluing involved  I made little envelopes with added messages just for fun and little love birds are tucked here and there.   All together we probably used 3 sheets of blue shimmer 12 x 12 ...5 sheets cream shimmer 12 x 12 and 2 floral sheets 12 x 12.  I believe it took only 1 blue glitter sheet 12 x 12.  We of course have some scraps left over that could be used for future tags.
The main box its self is pretty easy.  Using 1 sheet of 12 x 12 score at 4" and 8" rotate and repeat.  For hearts in the corners I used a template, traced and then fussy cut the base corners.  I was then able to use a die to cut out the glittered blue hearts.  Dies are definitely my best friends!  LOL  I sure hope there is alot of Oooo'ing and Ahhhh'ing this Saturday at their shower.

Til next time
HAPPY CARDING!


GIRLS LOVE DINOSAUR 'S TOO

Do you ever notice that when it comes to making a kids card I turn into the President of last minute cards!   I wait until I absolutely need one before my brain even engages.  Sometimes my idea of last minute is a week or 2 before but for my poor grandniece I wait til I absolutely need it.  Last year I made a (by the seat of my pants lol) Rainbow card that I literally just slapped together.  I felt so bad because her mom normally saves all the kids I've ever made her kids and that one was not save worthy.  So for this year I knew in advance that she is all into Dinosaurs.  Absolutely LOVES them.  So I set out to find some inspiration on Pinterest.  I found a dinosaur I liked but it was one of those Svg (is that right?) files.  Well I don't have that type of cutter.  I'm a hand crank kind of gal.  But from the looks I figured I could do some Punch Art work on it.  I made it a large card 5.5"x8.5" so I could make a scene and not just have a Dino.  Sooooooo............Here it is!!

The body probably should have been more oval but it wasn't until I had it glued on and I sat back and looked that it hit me that an oval would have worked better.  My coconuts crack me up.  I layered a dark brown circle under a lighter circle the same size except I squished it up before gluing.  Ok looks NOTHING like a coconut but you get the idea and a 4 year old won't notice.  I'm just excited that I was able to get a card done for her and still have 3 days until the party!  Yay for me!!!  Pressure off.  At least for this year.

Thanks for stopping by and til next time...................

HAPPY CARDING