TIPS AND TECHNIQUES

Thursday, August 14, 2014

What kind of fold is that?

Good day everyone!  It has been so crazy here.  The kids around here have gone back to school and my husband and I are back into our routine of taking care of our 3yr old grandson and picking up our 1st grader granddaughter.  My daughter-in-law works for the school dist. so she had the summer off and so did we, but now it's back to the school year routine.  Before I could get back into my cards there was jam making to be done.  Our summer home is located in "CHERRY" country.  With such chilly weather and lots of rains the cherries, which normally seem to be out the mid to end of July, were popping out the end of July to beginning August.  Every year I put up Jams and sauces to give out at Christmas time.  So for the last 2 weeks my husband and I have made "Cherry jalapeno sauce, Cherry mango jam, Sweetart Jam(using sweet and tart cherries)and Cherry rhubarb jam.  Earlier this summer I was also making "Garlic Scape Pestos" that I froze for future use in the winter months.  Soon it will be "Garlic" harvesting time.


here's the front
And the inside
Ok enough of that!!!  On to CARDS!!!  Today's was seen on Splitcoast Stamper.  This woman posted it as a SWAP she did.  She said it was alot of work but that the outcome was worth it.  Her only tutorial was written in the comment part of her post.  So I copied/pasted and dug out some paper.

Cute cute cute.  Now I just used some green card stock from Joann's cut 8 1/2 x 5.5 and then the mat was early espresso.  The card is a regular 4.25 x 5.5 size.  The mat could have been made bigger but I was layering with a piece of handmade watercolor background paper and I didn't have huge pieces left.  A brown sheer ribbon and some twine finished off the card front.  Inside you have a separate piece of card stock that was accordion folded and glued inside the card. 7 pieces of espresso were cute into 2" squares and layered with 1.75" watercolored paper.  I just did random stamping using "Measure of the life" stamp set and some misc. word stamps for Happy Birthday and Just for you.  I'll upload a top over view so you can see how to adhere these squares. Below is your template....actually super simple.


I bet this would look really cute as a Christmas card!  Think I'll try that next.  I also think this card fold needs a name besides swap card.  Any ideas??  Maybe it should be called "Mariiam's" fold? I've tried contacting her but her profile says there hasn't been any activity since 2006.  So we'll see if she ever gets back to me.

And here is a top overview of the inside.


You can see original here:  


http://www.splitcoaststampers.com/gallery/photo/374988#ixzz39QanXGun


Wednesday, August 6, 2014

Hot Topic

Hi Everyone!!!  I just wanted to share with you that I made the Hot Topic section on this weeks Splitcoaststamper.  What a surprise when I saw the subject matter and thought to my self.."wow someone already did this"..Heehee...I opened it and it was MINE!!!  Just so happens that in one of the forums I found there was a place for "downloads project instructions" and I thought what the heck I'll share my measurement sheet.  Of course all of you can view the card measurements here on my blog.  It was posted in March under title Card Sizes, but please go to the Weekly Inkling email from Splitcoast for some really great ideas.  If you don't get their weekly news your should subscribe.  Its a great source of information.  Just go to:
www.splitcoaststampers.com  for more information and exciting tips, tutorials, and a whole lot more!!!  And again don't forget to at least check out the Hot Topics section of your Weekly Inkling.  I'm soooo excited!! Can you tell??

HAPPY CARDING!!

Tuesday, August 5, 2014

TRICKS OF THE TRADE

Happy Tuesday everyone!!  Oops kind of late posting this.  Seems it's already nearing 8pm over here.  LOL  Today I thought I'd share some of my tricks of the trade.  I tend to sometimes use unconventional items when I'm crafting so I just thought I'd share them with you.  I shared some awhile ago in a post entitled  "Moneysaver" and  "Repurpose".  This time I have a few more.  
  First....lets talk about "Denture" brushes.  You can get these at the Dollar store and since they are so cheap you can get a few.  I use these for scrubbing stamps that I've used versa mark clear pad to ink up for embossing or for those antique printing plates I have to get some of that excess ink out of the nooks and crannies.  Having 2 different sizes on 1 brush is convenient too.


Next cleaning solution.  Ok I know...NOT cheap! But man does this stuff work!  I've mentioned Simple Green before and sometimes I know it's easier to have a visual when you go out shopping looking for stuff so I attached a photo so you could see what I'm talking about.  I use this to clean Staz On ink off the stamps.  I also used it on the printing plates.  I have not had any stamps ruined from using this product.  It was originally used to clean & condition rubber, like tires.  So I figured it has to be safe for the rubber stamps and it would condition them too.  I also use this on the cling stamps with no problems.
Next.....plastic deli containers.  These are easy to stack and are clear so you can see what's in them.

I have a few of these around my craft room that hold some of my homemade paper flowers and the paper bows.  They are also convenient for pouring emboss powders in them that you buy in bulk.  Like the large jar of the clear powder from Rangers.  If stored in this type of container you can use a mini plastic spoon and spoon the powder over your stamped image above the container for little to no mess.  Love it!  Oh I know you can buy plastic storage containers with lids at the stores but HEY!!  These are FREE!!!  YAY!!!  I'm all about free!  LOL

Lastly.....Soda bottle caps.  Put a little glue dot on a piece of wooden block and use like a tamp to add a little interest to your background.  I used it here on this tag...if you look really carefully you'll see little black scallopy (is that a word? heehee) circles.  Real random.

I guess most visible to left of lamppost
Well I think that's a bit all for now.  Hope you can use some of these ideas in your craft room.   Use the unexpected.  It could be a perfect addition to your card!


HAPPY CARDING


Sunday, August 3, 2014

ANTIQUE PRINTING PLATES AND SEWING BOBBINS

I tend to be the type of crafter that loves using unusual findings  The first thing I was drawn to were old mason jars.  I loved the bluish colored ones with the 1 piece metal cap or the glass caps as well.  I filled these jars with a ton of buttons or ever tiny ribbon scraps.  They just make the craft room look so pretty and interesting.  I'm always looking for unusual looking jars to decorate my room with.  I once found a cute bear jar that I believe once had peanut butter in it and it now holds a few not often used bottles of stickles.  Being in a lidded jar I don't expect them to dry out, which can happen to lesser used colors. 

  Next I became fascinated with wooden sewing bobbins found at the antique stores.  Alot of them still have thread on them and I thought "What the heck".  I can use the thread when I want something smaller than ribbon and the spools would look pretty on a shelf.


The the threads vary from very thin to embroidery floss size as you can see in the photo above.  I've used these threads with buttons on a card for a much tinier bow or as an embellishment by winding the thread around a piece of stock several times.  The threads are so versatile and very unique.

Another thing I've been drawn to are antique printing blocks.  I wasn't sure how they would work but I'm getting the results I wanted.  If you enjoy the look of the distressed stuff Tim Holtz does then your going to love these.  They are not easy to find but show up every now and then at antique stores and flea markets.
These are just a few I own.  They are metal plates attached to wood blocks.  Probably used for newsprint's.  It really doesn't matter what is on them but rather the look you can get because of them.  Some are quite dirty when you get them after all they were used in printing presses, but they are easily cleaned up by using a little undiluted Simple Green cleaner.
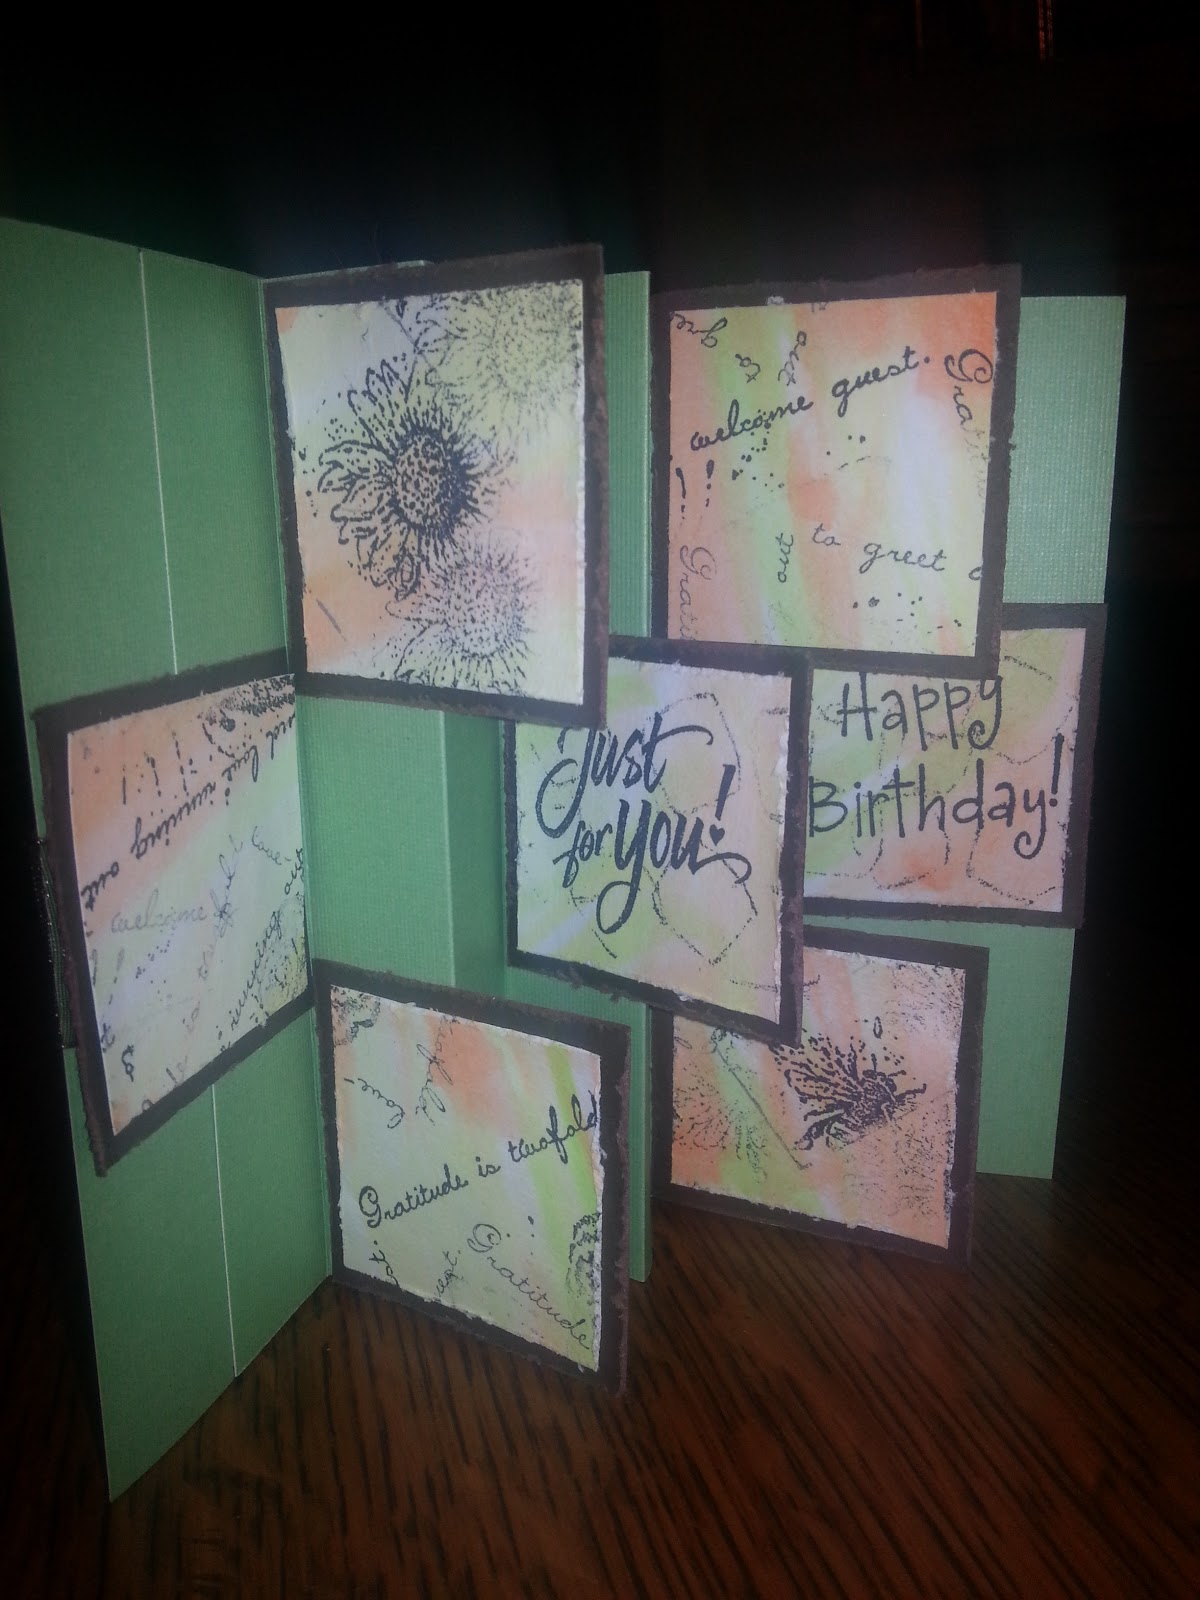
Here's the plate stamp on left and the Birthday card I made for my brother in law.  Loved the look!


To show how these stamp... I stamped both the men plates using dye ink on tan card stock.  The other plates I used a pigment ink pad.  This gave it a little less of a distressed look.  These plates tho by themselves are not very interesting but imagine using them as background accents for a card or tag.
Warning these plates are not cheap...the largest one of the man standing cost me $32. and it's only about 2"x3".  But if you want something really unique you need to find these.
Here's a quick tag I made with another one of these plates.  Definately has that Tim Holtz feeling about it.
Does anyone else think this looks like a streetwalker up against a lamp post, next to a gas pump?  Wonder what THIS ad was all about?  LOL!!!

I'm always in search of something different to use.  Getting these was a great find.  I will definately keep my eyes open for more.  I think I'm addicted!  LOL  Well my goodness thats alot of posts for 1 day....... Till later.......


HAPPY CARDING!!!


Measure of life all occasion

Hi everyone...yeah I know 2 post in one day.  See what happens when I'm away from my computer for 2 1/2 weeks!  I get so inspired up at the cabin that I just want to keep on going.  Unfortunately this time I left alot of stuff at home and I just didn't want to start buying more duplicates.  Some stuff I can't leave up there due to the fact that it is strictly a 3 season home and on the lake.  It would be subjected to all sorts of temperature changes and humidity.  Kind of like keeping all your craft supplies in a tent on a beach for months!  Not good! LOL  So the only things I leave up there is some scrap paper in zip lock bags, a trimmer & score board, some gel pens, watercolor pencils and paint brush's.  Everything else I pretty much have to bring up myself every time I go.  This time though I did remember to bring up the "Measure of Life" stamp set from stampin up that I borrowed from my fellow stamper.  I know I've used her name before but I think I really need to ask her if it's ok for me to mention her every now and then.  Anyway...in my bag I had a few already cut and scored Kraft paper card bases and some turquoise and orangey paper scraps.  So on some watercolor paper I did some random watercolor washes for the background of my stamp.  I then stamped random shadows using the dragonfly stamp with the final stamping being done in Hampton Arts black ink and clear embossed.  I also distressed the edges of both the watercolor piece as well as the orange mat before adhering to the card.  The 2" turquoise piece I sprayed with water and scrunched it up, then reopened and let it dry to add some more texture to the card.
Popped on a button with some Antique spool thread. (I'll post a picture of that later too)  I made a set of 4 to tie into a bundle as all occasion cards.  I think if I tie them together with some raffia they'd make a cute thank-you gift.  

Guess I better start taking pictures of that spool thread and those stamping plates from a previous post.  So.................

HAPPY CARDING!!


HAPPY BIRTHDAY BROTHER IN LAW

Finally back from the cabin!!  What a gorgeous time we had even though I left most all of my card making stuff here at home.  I even forgot my Brother in laws birthday card that I was so excited to give him!  I was giving him the sail boat card that I posted earlier titled A Couple of Guy cards.  I couldn't believe that I left without it.  I was pretty sure that this time I was all organized!  Yeah right......Ciaos is my middle name!  LOL.  So as I said I was very limited with supplies, but while at an antique store I found an old printers plate and decided that it could work.  So back to the cabin to go through papers I had stashed away for the grand kids to play with.  I also brought out the watercolor paints so I could jazz up the background.  I didn't have any embellishments but noticed the metal rim around an old coffee pot we were tossing so I clipped it off!  Why not?  And it worked out great.  Here it is:

Well my brother in law loved it and we all had a big laugh over the metal band I used.  
I even went back to the Antique store and picked up 2 more metal plate stamps.  Hopefully I can come up with some real unique card ideas to use them on.  I'll post a picture of those stamps later so you understand what I mean.  Until then..............................


HAPPY CARDING!!

Saturday, August 2, 2014

CHRISTMAS IN JULY

Ok so technically it's August, but in my defense I have been at my cabin with no Internet service.   I just recently got home and it's just a few days into August.  Plus I actually made these cards last week and it was still July then.  I know...excuses, excuses!  Hahaha.  Anyway again with my limited supplies (and colors) I was still able to put together a couple of Christmas cards.  This time I really wanted to use this dark navy color and this wonderful cabin stamp I found on ebay.  It kind of reminds me of what our cabin looked like back in the 60's when it first came into our family.  Ours has since had the front porch enclosed and the whole thing has been cedar sided.  The logs were more than 140 yrs old and getting beaten up by the winds from the lake so we needed to help save the logs.  So I found this stamp, it brought back memories and I wanted to make some Christmas cards using it.  I wanted to keep everything real simple.  I think they call that a " K.I.S.S. " card. "KEEP IT SIMPLE STAMPER."  So knowing how few supplies I had, I knew that would be an easy thing to accomplish.

I used a navy blue color for the base and a piece of Whisper white that I embossed with a swirl frame embossing folder.  I then stamped with stayz on ink pad in midnight blue.  I love the simple look.
The next 2 I just played with the navy cardstock and a border punch by Martha Stewart.  Used an edge embossing folder for the centers and added a few snow flakes.  Again super easy!  
These would all be real easy to mass produce and take very little time to do.  Go ahead....give it a try.  K.I.S.S. Cards can be super fun to make!

HAPPY CARDING!!!!!