TIPS AND TECHNIQUES

Friday, April 28, 2023

Birthday Tower Card

Spring is finally here and with Spring comes births.  That being said I have a lot of Birthdays coming up that I am going to be needing cards for.  May is my absolute busiest month of my year.  Of course you all know my love of "Fancy Folds" so it should be of no surprise that this will be another.  Quite awhile ago I did a few tower cards.  Super easy and yet very impressive looking .  Spectacular papers make these simple cards look complicated.

Today I have a little twist on the ones I have done.  At least I think it is.  I for sure now need to go back into my files and see if I've made this one before.  After making so many you sometimes forget what you have made in the past.  Anyway Sam  on Mixed Up Craft recently posted her Tiered Pinwheel Tower card on Facebook.  To me it reminds me of a layered birthday cake.  What could be better than receiving a Birthday card shaped like a cake? 

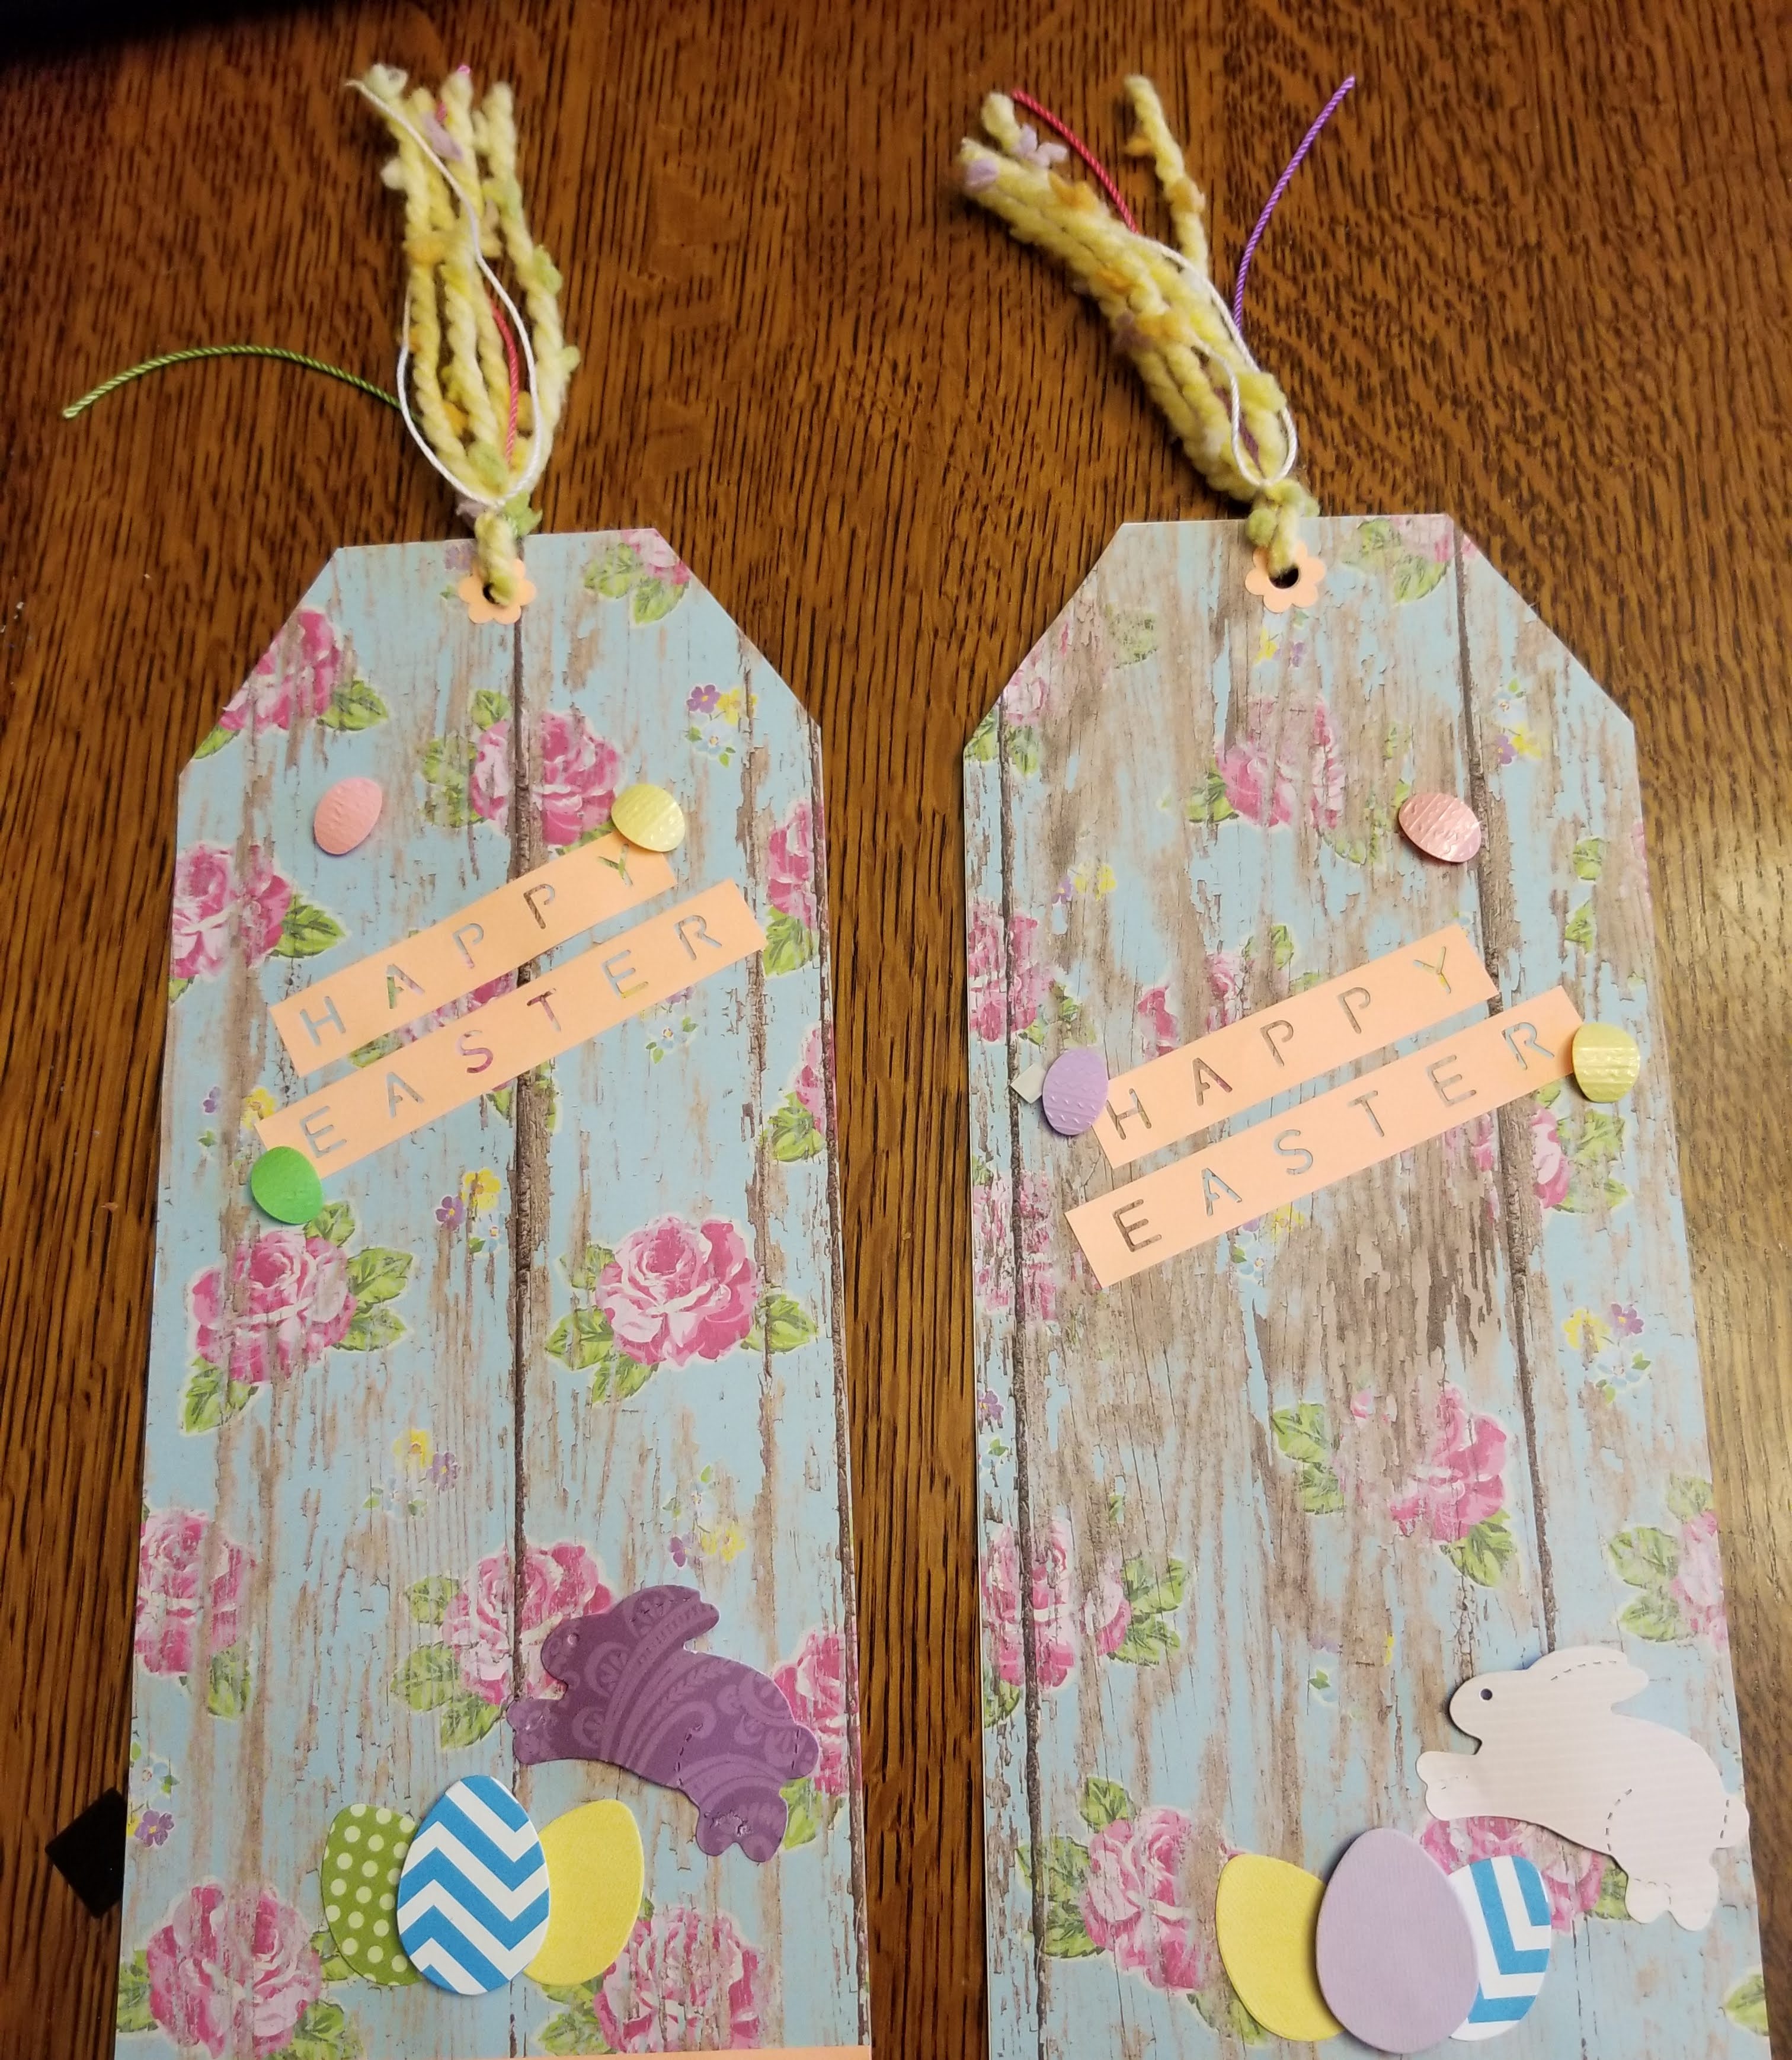
1st up was for a teenager.  I didn't want to get too cutesy so I just added her favorite butterflies to it.        


And here on one flap I put a solid piece of card stock for signing.


 Next was for a younger child and I decided to add candles and balloons.  How fun is this?Now there's no way I'd mass produce this card with alot of embellies as  it took me forever to assemble.  I could not believe such a simple card could take so long but Oh my...it was so worth it!
Below I give a little tip on making the balloons and candles.

For directions on the basic cuts I suggest you go to Sams YouTube channel :

HERE

So another change I'm making here.  As I proof read my post I went to check my links.  I was pretty sure that Sams channel had a link to her blog (which it does) where you could find written directions for this card.  Well I could not find written directions anywhere.  I don't know about you but one thing that aggravates me is that when I go to a tutorial I love to watch the video but I also like to print out measurements so that  #1:   I can work at my own pace and  #2:   have a hard copy so I can make it again.  So I sat down and wrote out what you would be needing.


Now follow the YouTube video or my pictures (which may be confusing)  Start with the center tower piece scored folded and glued together.  Cut off a sliver on one end to make connection perfect when glued so there is no buckling.  Glue all your pattern pieces to your solids and make 4 rows of 1 of each size as on white paper sheet #2.   Now work on one section at a time on the tower.  Lay tower flat and start on section on your right at the bottom.  Glue on the layers bottom up.


I started with my focal colors first then went to the left panel as in first 2 parts of upper picture the fold tower towards right to next section etc until all 4 sections are covered.  Then as you see in the last picture of the tower there are solid yellow squares on the left.  If you turn your card you will notice smaller solid squares all around.  That is the reason I cut out the smaller pieces of pattern paper in the first photo where I wrote optional.  You do not have to cover those pieces.  I just liked the look of them covered so I gave the measured square nbrs to you.  Before decorated the card will look like this:


The video is probably easier to follow but if you're a seasoned card maker these basic instructions may be good enough.

Now some decorating tips.  I save everything.  I love scraps so of course I scrapped some of the embellies I made for this card and here's how:


I wanted candles and found that the bits of scrap in the With Sympathy dies looked like flames so I made a few flames and then cut a few green candlesticks with scrap green cardstock.  I then wanted a few balloons.  Well I had a tiny fish punch.  So I punched a few fish, slivered sliced some scrap green cardstock for string and made them into balloons.  End result on the card I added a teeny tiny bow that came with a bunny die set I had.  I think it worked just fine.  Added some bling to hide the glue that held down the faux strings and TaDa!

Well I hope you enjoyed this process.  Its not nearly as complicated as I have probably just made it seem.  LOL 

Til next time....................................................................


 Make sure you check out my other Tower/Pinwheel cards 

HERE


Sunday, April 23, 2023

Springtime Trellis Card

 Spring is finally here.  I think?  Well it was here yesterday. Today it's chilly again.  Mother Nature is so confused but I'm going to plow right out of Winter and hop into Spring.  I was on Facebook a few days ago and a lady named Cmoi-Sylvie Paradis shared her card that was made following a tutorial on Jennifer Mcguires blog for a trellis card.  I thought it was adorable and rushed over there to check it out.  Well me being me I did not have the stamps or dies that were used in the video but again me being me I search my stash and come up with alternatives.  There were 4 different designs for this card and according to the post 3 were 4.25" x 5.5" cards 1 was a business size card and then she repeated one of the designs into a 5x7" card.  

I first followed the directions for the 5x7 card and let me tell you I was not happy with how it turned out.  When I looked at hers it seemed that she had more space between her trellis pieces than I did and yet I know I cut my strips the size she stated.  So I made another card and reduced the size by 1/8" and liked it alot better.

Then I got wishy washy.  I wasn't sure which size I liked so I came to the conclusion that it's all what you feel like at the moment.  Either way they look awesome so decide for yourself the thickness you use.  It's totally up to you and doesn't change the dynamics of the card. This one is the 5x7 and I decided to do it with a patterned background so you could bee where the strips go. I evenly spaced them and then just held them in place with a piece of washi tape while I placed the other side.  Then lift each strip and glue to the top of the strips being held down with tape.  The short top pieces are folded to the back and glued down. When all strips are glued to each other and the top pieces are folded back and glued down you glue to the front of a blank folded 5x7 card.  Excess bottom strips are trimmed off.

I then did the business size card.  I really liked this one.  Probably because I was able to play with my watercolors.  I found a stamp and die set I forgot about with sunflowers and used some pearl watercolor. Love the way the flowers turned out.  I then played with 2 other ways to do the trellis.  


  So now for some honesty ........Yes I liked doing these.  Yes I think they were pretty.  Yes they are reasonably easy for a class to do but................... I'm not sure I really like them as a send-able card.  Why?  Well, if you were to write a sentiment on the inside of the card it would all show through the slats of the front of the card and that would look pretty tacky.  If you were to leave the inside blank, it seems kind of silly.  You could glue down the trellis part to the inside part and turn it all into a postcard type card and do all your writing on the back but then displaying the card would be difficult without an easel.  So that's the down side of this card.  I'll have to also say that since I first saw this on Jennifer's Channel I have noticed it is popping up all over the place.  Another fellow card guy I follow UNUnique just published a YouTube video of one he did as a Mothers Day Card.  Very Pretty.  He's also planning 2 more video's on trellis cards.  So apparently these cards are a hit right now.

Until next time..............................................................

Saturday, April 22, 2023

Accordion Fan Fold

 Hello Friends!  I have finally been motivated back to fancy fold cards!  It has been awhile and yet my past few post have been fancy fold that I have noticed as I have been surfing through Pinterest. Some I have seen are repeats of ones I have done before and others, even though I have done them before, I think about a remix into a Slimline card or maybe a 5x7 card.  So many of my past cards were the standard 4.25" x 5.5" and I know they would look different in a larger size.  Also Using those busy full 12 x 12" sheets of scrapbook papers that are usually used for albums and finding ways to use them in a fancy fold card instead and seeing how different they would look with just 1 sheet.  Like the post I did called "Thinking of You Pop Out"    Seen Here.  So today I found this one.  Just a little complicated but not much.


It's an Art Deco card that I used an old pad of designer paper from Downton Abbey.  Remember that show?  Well one time while at Tuesday Morning I came across a paper pad called Downton Abbey.  It had beautiful papers and some quotes on the inside cover from some of the characters.  Pretty cool. I thought this was going to be a pad I was going to go through right away but instead I barely used the papers.  I could never find the right card shape for some of the designs.  All the papers in this pad deserve to be in fancy fold type cards that focus on the beauty of the paper and not hide it through alot of layers and this card seemed just right for this design. Anyway I used on of the  sheets along with kraft paper for a base on this fancy fold.  Now this too was a card that I saw done by Sam on Mixed up Crafts.  She saw the card on Pinterest by someone named Jackie but there was only a picture.  No template and no link to her blog, just her picture of the card.  So Sam took the time to re-create the card.  It looks very similar to another card I have done in the past except the base of the card is an accordion.   You can find Sam's directions for this card HERE.  This card has an area on the back for signing.  It folds flat to fit inside a 5x7 envelope.

Until next time....................................................................................


Monday, April 17, 2023

Thinking of You Pop Out

Hello!  It's me!  The Pinterest Surfer Queen!  LOL  I swear I could spend the entire day pinning cards and crafts that I want to make on a daily basis.  This week has been a week of "Surfing" for sure.  I needed to come up with a card idea for my ladies group.  There are 5 of us who gather regularly and this Saturday we are meeting up for a day of card making.  I am the one who usually brings in the "Fancy Folds"  Or the Graphic 45's.  We had all discussed needing more sympathy cards (sad we have reached that age) or thinking of you cards.  Also we had just started to play with watercoloring.  Freehanded style.  We would like to make our own original art work to be able to put on these cards.  So my quest this week was to find something that was Fancy fold, easy, and could have a small piece of our original art on it.  Well I think I found our beginner card.  Its fancy fold, but an easy one and we can make a small ATC size watercolor to put in the middle.  To start with though I am just making this a regular Thinking of you card and if we get to watercoloring on Saturday maybe we will have some special Sympathy cards soon.

This card is just a traditional Pop Out card.  I know they have been around forever.  In fact (though I do not know who the company is) I know that there are dies for this cut and similar cuts available.  As well certain company's sell pre-cut bases too.

This one that I'm doing has no dies and only 2 cuts.  I made the template below.


The solid lines are the cuts the hashs are scores.  The base piece is 5.5" x 8"  . Besides the base I made the entire card using 2 pieces of 12" x 12" designer cardstock.   After you cut and score you just start decorating each section.  To do every section as I did you will need the following:

Front Layers

8 pieces    1- 7/8"  x 1- 1/8"  (for pieces across the top and bottom)

2 pieces    1- 7/8" x 2- 7/8" (for center part on far left and far right of card)

1 pieces     1- 7/8" x 2- 7/8" ( for center pop out part of card front.  This can also be an ATC cut down a bit or an original piece of watercolor art which I am going to try)

2 pieces     3/4"  x 2- 7/8"   (for side pieces of pop out in center of card)


For Back

2 pieces 1- 7/8" x 5- 3/8" (for far left and right sides) I used a solid first

2 pieces 1- 3/4 x 5-1/4" (patterned paper.  Of course this is not necessary)

Have fun playing with different papers.  Here's the 12x12 sheet I used to create this card.  I also cut out 5 more card kits from the same sheet.  Each card is going to look a bit different due to the pattern of this paper.


Here's the front:


and here's the back


I know as you look at the back of the card it looks like there are extra folds on the center panel but I assure you it is not.  They are just shadows  My lighting is not very good.  But isn't this a fun card?  Can you imagine the assortment you can get from scraps?  Oh and what about Christmas?  Oh my goodness I could make a ton of these at Christmas and never get tired of making them since each one would turn out different if you use a 6x6 paper pack.  All papers would coordinate so it would be a win win.  Now I can't wait to tackle Christmas with this fold.

But first...my ladies group tackled this card with the rest of the paper from the above sheet and I thought I'd share their cards with you today too.  How cute are these?


Til next time..........................................

Saturday, April 8, 2023

Its Easter

 Tomorrow is Easter!  Oh my goodness and I'm rushing.  As usual I have had plenty of time but have chosen to just relax and do absolutely nothing.  Watch a few movies...take a few naps...try out a few new recipes and now I'm paying for it.  The only thing ready is food has been bought.  I have a house full coming tomorrow and seven very excited children who can't wait to get here and partake in the annual egg hunt.  Yesterday my son and I filled a ton of eggs and stashed them in a closet before the grandkids got here to color their Easter eggs.  Its another annual tradition to come to Ama and Apa's house to decorate the eggs. I look forward to this mess every year and the kids have a blast.  This year I opted to not give individual Easter baskets.  Since there are 7 kids I had decided to give family baskets instead.  Each basket is filled with bubbles, frisbees, kites, footballs, paddleballs, etc.  All outdoor toys.  They are all put into laundry baskets and wrapped up with Dollar Tree plastic table cloths to make them look like giant Easter baskets.  I'll be using them as part of the outside decor at the beginning of our Easter Egg Hunt this year.  


I then needed tags.  These are pretty big so I decided to use a cereal box for the base of the tag and cover it with scrapbook paper.  I have no idea where this paper came from as it is quite old but it looked like Spring time to me.

The bunny and the eggs were from an old Sizzix steel rule die.  Remember those? They were the ones that were like an inch thick and had originally had 3 sizes. Large were red, medium were yellow and small were green but all were about 1 " thick. We used them with the Big Red Sizzix die cut machine.  I still have that thing lol. Anyway these were the green dies.  The tags themselves are about 5" x 12".  Its kind of nice to use old stuff again.

Well Happy Easter to everyone.

Til next time............................