Is it "Spring" yet??? My word we have had some pretty chilly days here in the Northern states. Not a ton of snow but Oooooo sooooo cold! The sky's have been so deceiving lately. Beautiful .. Clear .. Sunny and Blue buttttt...oh so cold out there. How are all the little children going to go on their Easter Egg Hunts when they need to wear big parkas?
So today I stayed inside admiring the sun and the warmth of the indoors and thought about Spring and Easter. I came up with these 2 very Quick cards. Both are regular A2 in size. First a simple one using a new die I picked up at the Stamp show earlier this month.
Aren't those Bunnies adorable? All the papers used were from my scrap bin except the Hello Easter. That I had just cut off from a 12x12 sheet of Easter journaling cards by Echo Park. I got the curves by using a paper trimmer from Creative Memories that they had many many moons ago. LOL I'm not even sure if its still available or if the company still is in business. I haven't heard about them for years now. Anyway I had cut the green and the stripe at the same time for perfect layering.
This one is a Z-fold Flap card. Simply put you make a Z-fold card...the base on mine is 4.25 x 11 and scored at 2.75 and 5.5. The the flap (Gold) is 7.5 x 3.75 scored at 3.75. When you close the card the left side closes first and the right flaps over it. Maybe I should have taken a picture. Oh shoot....OK...wait a minute I'll go take one.
OK that's better....lol. So since I need to make 8 Easter cards this may be the route I take. Simple simple simple. Now to just get at them.
Thanks for stopping by and ...........................................
HAPPY CARDING!
This was written just before Valentines day and I forgot to post it. So instead of deleting I thought I'd post it now anyway, Sorry for the delay.
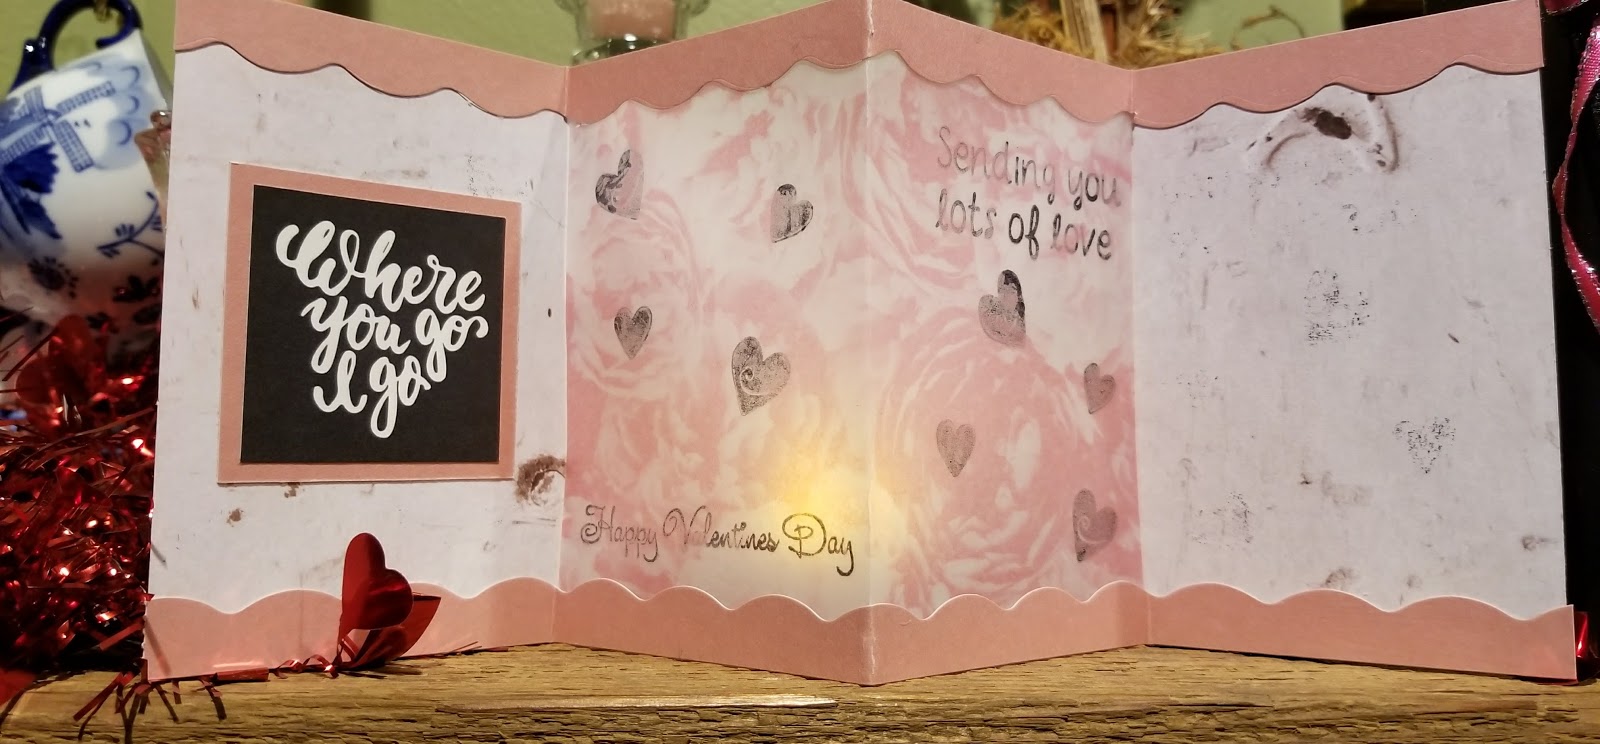
Valentines Day is nearly here and I am obsessed with fancy fold cards. Today is one I showed earlier in the week though is was undecorated. It is a simple gate fold card but you decorate the back side instead of the gate fold side. Nothing special...nothing new...but oh so fun to do. You can make this as simple or fussy as you'd like and it will always turn out fabulous and the receiver will be impressed.
This one I used the scallop blade on my old cutterpede paper trimmer. Boy when that blade goes bad I'm going to be so sad because replacements are so hard to find. The paper is from a Recollection paper pad called
Next I decided to make one for kids. I had to search the Internet for retro valentine images. Remember when you could buy just a box of Valentines for your kids and there wasn't a specific theme? I looked all over for those generic Valentines but everyone I found was themed. Such as Paw Patrol, Marvel Hero's, Minions, what about just a cute little girl holding a valentine behind her back or a kitty with a Valentine in its mouth. You know....just Valentines!!
Well I found this one and it is pretty cute.
Both of these I think turned out cute but my favorite is the first one.
Til Next Time
HAPPY CARDING!
With Valentines day coming I am reminded that I never have enough Valentines ready and the one I nearly always forget is the one for my husband. Oh the horror. I'm usually so busy trying to make sure I have all the valentines for my kids, my grandkids, my grand nieces and nephews that I just plum run out of time to make one for my husband. So this year I'm starting with him.
I love watching May May Made It on YouTube. She has some dynamite videos and makes it so much fun to watch. Earlier she posted a video on making a Tea light Valentine. I had decided right then and there that it was THE card for hubby.
Here's my version of her card.
Isn't it adorable? I love this. I'd like to make a few more since I have this beautiful paper pad with such lovely patterned double sided cardstock. Please be sure to check out May May's video seen HERE. You have to give this a try. Its quick....elegant and you know you need a special Valentine for the love of your life right?
As for me I'm going to make some more real soon.
Til next time............................
HAPPY CARDING
Well hope your warm where your at because over here its darn right cold! One good thing about the cold is that I hate going out in it so it gives me plenty of play time in my craft room. Last week I had a few Birthday cards to make and as you may have read I was not pleased with many of them. Doing all those different folds enabled me to find a simple one for a Toddlers Birthday. Although one that I had already made could have been used, it looked too girly for the cute little 2yr old boy who was having a birthday. So back to the drawing board. I saw a video on a real simple fold card.Seen Here. But no matter how many times I I cut and folder there was no way I would end up with a center panel being 7"wide and though it doesn't look like it in the photo they gave the DSP is cut at 5" which should have made the 6" high card have a top and bottom border of 1/2". EY YI YI! But you know what??? When this card is folded shut it will fit into a regular 3 5/8" x 6 1/2" standard envelope. So that's a plus since you can get a box of 50 at the dollar store. It sort of folds into it's self. Ok I probably have you confused so lets just get on to the card.

Now as I said this is for a 2 yr old and it was literally last minute. Slapped it together and ran out the door. I made a few changes to the directions. Since the side panels were suppose to be 2" wide your paper had to have started out as a 11x6 not 11 3/4 x 6 but that would give you a center panel of 3". Which is what the card is above. Not 7" as stated in original directions. Now if you want the card to be an A2 size you need to start with card stock 5.5 x 12 and score at 2, 4, 8, and 10.

Above in the top portion on left is the re-vamped card with the size fitting a 3 5/8 x 6.5 envelope and on the right is the card re-made to fit an A2 envelope. For the one on left you would have a piece of card cut to 11 x 6 and scored at 2, 4, 7, 9. The A2 size one on the right would need a piece of card measuring 5.5 x 12 and scored at 2, 4, 8, 10. I was so engrossed in what the measurements of this card should be that I never even realized that the A2 one I made is just a gate fold card decorated on the back side instead....duh. Sometimes it takes my brain a bit of time to catch up. lol Also you can see closed (bottom right) its just a gate fold. Now the card on the left bottom when it is closed it closes onto its self. So it's not a "true" gate fold.
Above is the back and it's hard to tell but it folds over its self making this card narrower.
Boy I just re-read all this and it sounds confusing to me. Hope you can understand me and give this narrow one a try. Its really a cute sized card when opened.
Ok well I'm going to go find another confusing card. lol Maybe I'll share another.
Til then........................
HAPPY CARDING!
So I now have these 2 awesome glue gun holders and new glue guns and I need 2 great cards to go with them. Boy am I stumped. I spent an entire week folding...searching Pinterest....tossing....starting over and nothing I did was pleasing to me. I mean you can't have an awesome gift with a mediocre card. So far these are my unhappy ones.
I really wanted a fancy fold so I tried variations of the diamond fold and then a trifold accordion and although I liked the papers on the 2 cards on the left I just couldn't decide how to finish them. So on ward to the other 3 which were OK but I didn't like the color choices. The middle one looks more like a toddler birthday card to me.
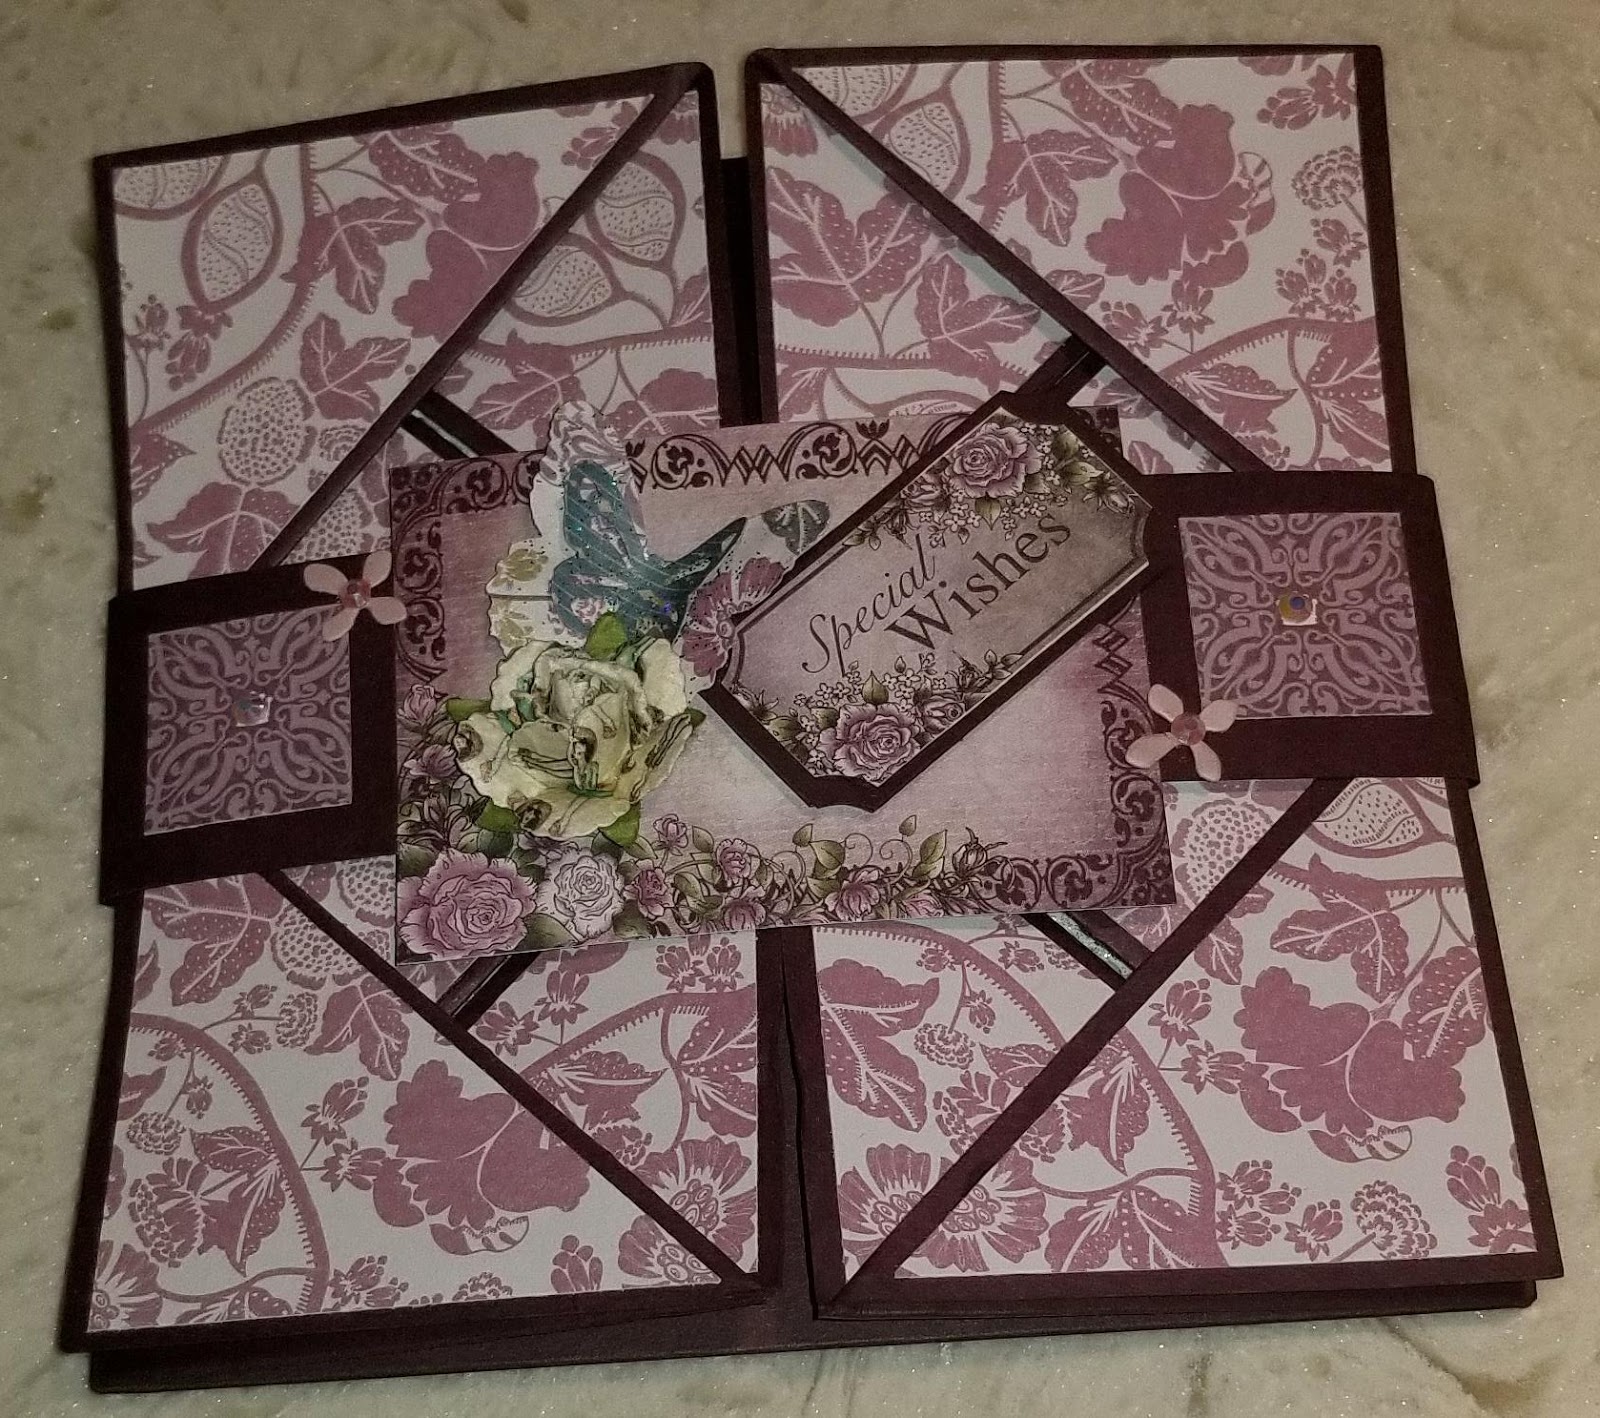
Finally I decided on an envelope card. Since I needed 2 I decided to try 2 different folds. The first one is a typical envelope card and the next one is a napkin fold which is sort of like an envelope.
I like the way both of them turned out. The papers that I used on both cards was from a paper pack I got at Tuesday Morning called Downton Abbey. I loved the Victorian look these papers had. Oh and on the first card the pink floral paper was not part of the Downton Abbey pad. It was just something I had in my stash. I have no idea what paper line it is from. Anyway the ladies liked their cards and that is what counted so it was worth all the trial cards.
Til next time
HAPPY CARDING!!!!
Hi friends. Today I wanted to share a gift idea for your crafty friends. I have a small ladies group that I get together with frequently for card making and crafting. For each Birthday I try to come up with some sort of unique little gift. One year I made them little totes from VHS holders Seen here and another year it was a bow maker. Another it was a card stand. Some day I'll post them lol. Anyway this year I decided on glue gun holders and brand new glue guns to go with them. I found an idea on Pinterest... showed my husband a picture and he went to his garage to try and replicate it. It turned out great and now I have him making 4 more for birthdays this year. One in January, 1 in February and then on to October and December.


I actually love the tiles. We found them at The Tile Store and there were 9 on a sheet. I guess that means he can really make me 9 of them! LOL Actually he was going to work on a smaller scaled one for my mini glue gun. Can't wait for that because if you own a mini one you know they tend to fall over ALL the time!
Now to come up with perfect cards for the 2 current birthdays.
I'll be back soon
HAPPY CARDING!
As time flies by and Christmas Eve is quickly approaching I realized how many crafts and cards never got made. I always seem to have so many plans and then fail to complete them. Time slips away from me, grandkids get colds and just want cuddles and some days I just wanted to sit and watch a Hallmark movie. Ok confession maybe "3 in a row" Hallmark movies! LOL I did get done what had to be done though. All gifts were bought, cards that were needed were made and mailed and crafting with the grandkids was done. I even threw in cookie baking and a few crafts of my own for gifts and just for fun. What didn't get done on a regular basis was this blog. I was always putting it on the back burner. Just barely squeezing in a tidbit here and there. I also managed to ignore browsing through some of my favorite bloggers post and when I did I'd forget to leave a comment. So I'll say I'm sorry and I will try to do better in the New Year.
So quickly now here are a few of the things that never made it to my blog. My huge project was my Advent Calendar. I LOVED decorating this as much as the grandkids love coming over and opening the drawers for little surprises.

This little paper star is super simple and oh so cute. I found the tutorial by mistake....I was browsing Pinterest for star ornaments with popsicle sticks and for some reason this one popped up. check it out. Collette Mitriga does a quick yet thorough tutorial on how to make this beauty.
This is it closed up. Its a little thing measuring 2x2 when closed. You need 6 4x4 squares to make it and only 12" of 1/4" ribbon. So cute. I will be playing with these later in the new year and probably make a few for Memorial Day and the 4th of July. I think they would be so cute in red, white, and blue don't you?
So many extra cards and tags were made too but I have since mailed them and used the tags on gifts so I guess there is no sharing of those.
This was a quick craft I did with my ladies group and with my grandkids for their teacher gifts.
These were recycled jars that we decorated with ribbons and misc. Christmas branches. The insides were filled with Potpourri and a small battery tealight was placed inside.
Here I made more snowmen and some little tags. The snowmen are made from recycled Frappuccino bottles. I used wooden candle cups for the heads and my husband cut out the hats for me. I filled them with candy and these were handed out at as gifts to my lady friends as well. Extras were made and my Daughter in Law handed them out to the teachers she works with. Yep!!!! Drank alot of Frappuccino!!! I now have to diet all this Christmas season! heehee.
I think that's it for now. I wish all of you a very Merry Christmas, Happy Hanukkah, Happy Kwanzaa and Happy all other Holidays. Have a wonderful time and I will be back in the New Year!