Okey Dokey...I'm a tad bit excited. I ordered some dies on Amazon and actually got SAME day delivery! Awesome! I was inspired to shop (ok ok I don't need inspiration to shop lol) by an email showing some new (well new to me) Sizzix Easter dies. OMG the bunnies are adorable in fact there are 2 sets and I just had to have them.
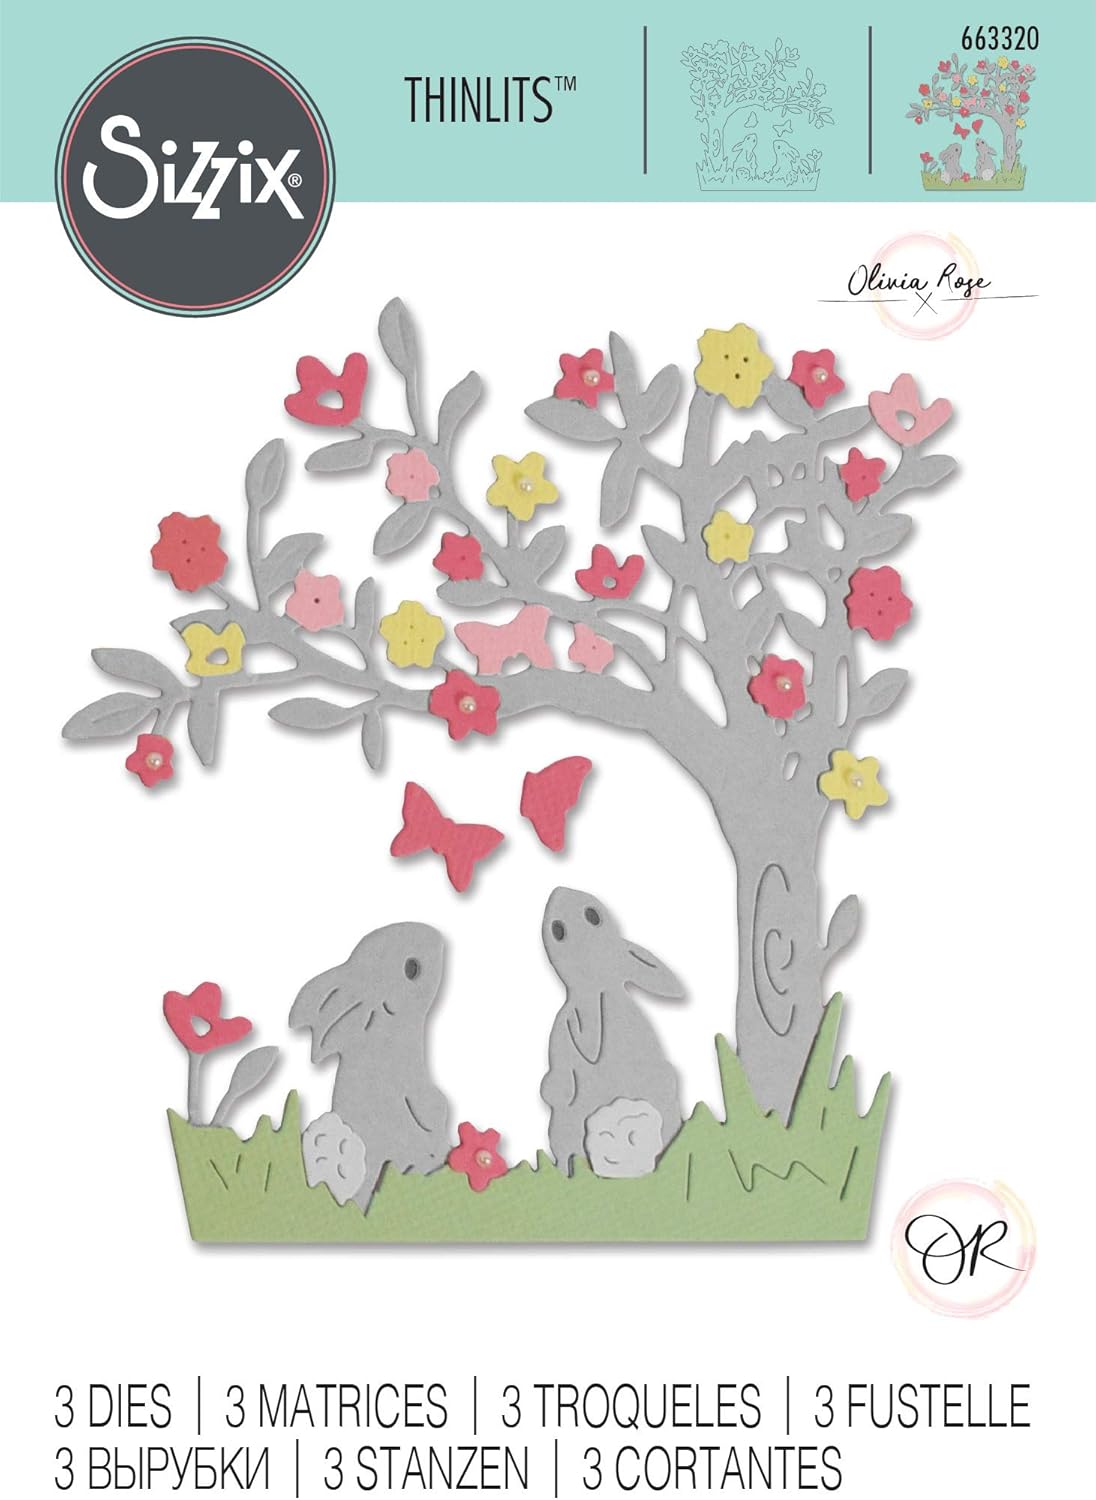
First up..Bunny Scene. Here I loved this. It has 3 dies but please be CAREFUL. 2 of them are teeny tiny. Not joking. I will surely lose these in a second.
So the fold today is Super simple. Its a flat card that stands and measures your basic 4.25 x 5.5" Here's what you need:
1 piece 4.25 x 5.5" Double sided card stock.
1 piece 1.5 x 6.5" score at 1/2" on both sides
1 piece 2 x 4.5" score at 1/2 2.25 and 4"
1 piece 4 x 5 solid light grey card stock for die cutting
scraps of green for grass.
Option is a solid card stock that you can either use a background stamp on the entire front or run it through an embossing folder. DSP could also be adhered.
I only cut the main die once with grey card stock but I think your suppose to cut multiple images out of different colors to cut apart the flowers to put on the grey die cut. I'm too lazy to do all that so I went into my stash and found 2 tiny flower punches. So I punched out a bunch of flowers in 2 sizes from scraps and glued those on instead. Works for me.
Score your 4.25 x 5.5 piece of card stock in half at 2.75"
fold your score line on other 2 pieces. With smaller piece (2x4.5) line fold line up with center fold line of the base at the bottom of the card and glue down the folded little ends. With the longer one and having base laying flat glue scored flaps on either end to the base of the card. Position your bunny diecut to center of the skinnier strip. I had cut out just the grass pieces a couple of times to make grassy area look fuller. Decorate as you wish. Isn't this cute?

Til next time.............
HAPPY CARDING!
Susan, your card is so cute - and looks complicated enough for my simple mind. LOL! Loved your comment about trying it again and making it more complicated.
ReplyDeleteI missed this original card- LOVE this so much! So fun to look at all of the fun elements of this card. Awesome!
ReplyDeleteWhat a sensational card!! All those magical tiny flowers and butterflies have stolen my heart!! So precious, Susan!!
ReplyDelete